Furniture Restoration: Steps and Processes
The Stripping Process
Prepping:
- Disassemble hardware
- Remove any glass or mirror
Steps:
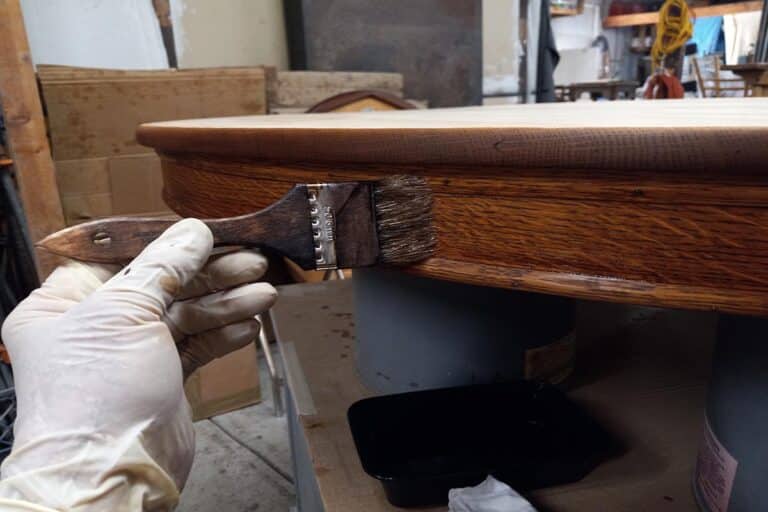
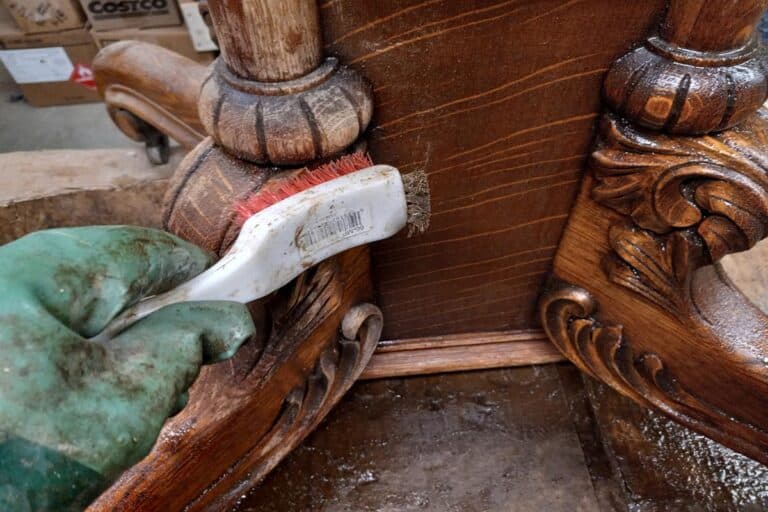
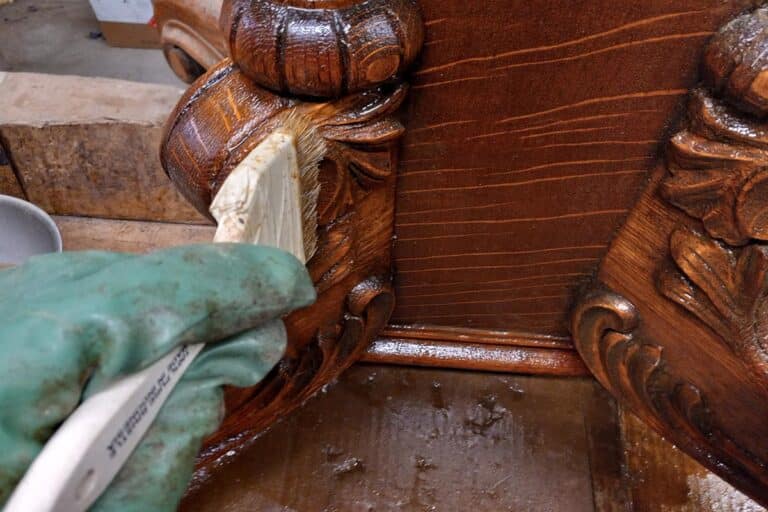
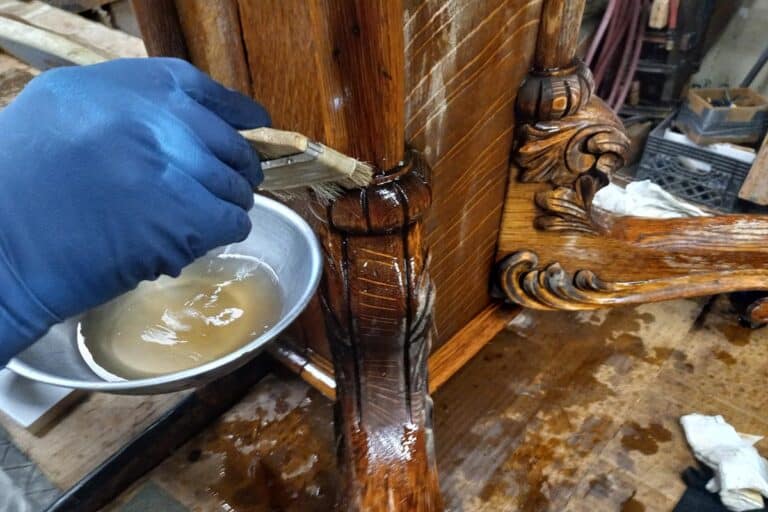
- Coat pieces several times with stripper solution.
- If able scrap off with plastic spatula or scrub with medium steel wool.
- Coat pieces several times.
- Use a cut down brush and a short bristle brush to scrub it down.
- Coat pieces several times and scrub with a cut down brush.
- Scrub down with lacquer thinner and cut down brush.
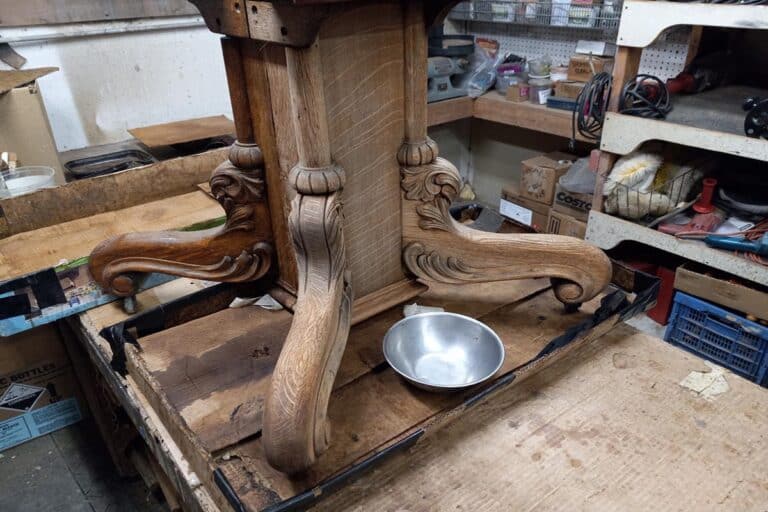
- Wipe pieces down with a wet rag with lacquer thinner several times until clean.
*More steps and procedures may be necessary.
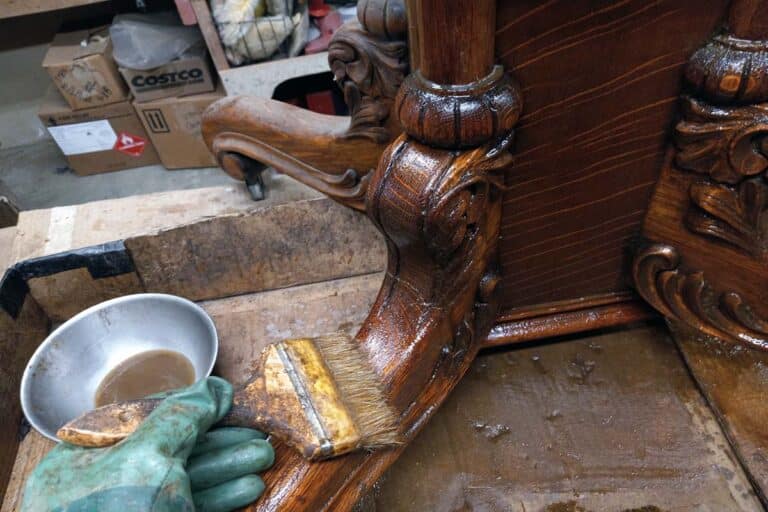
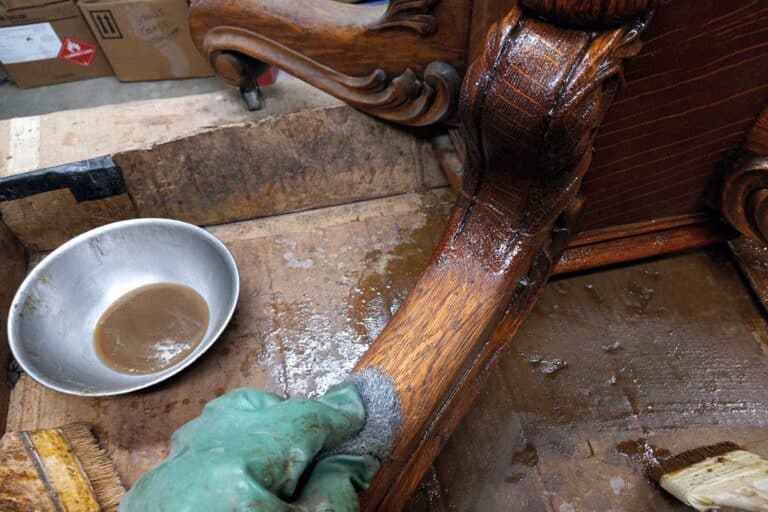
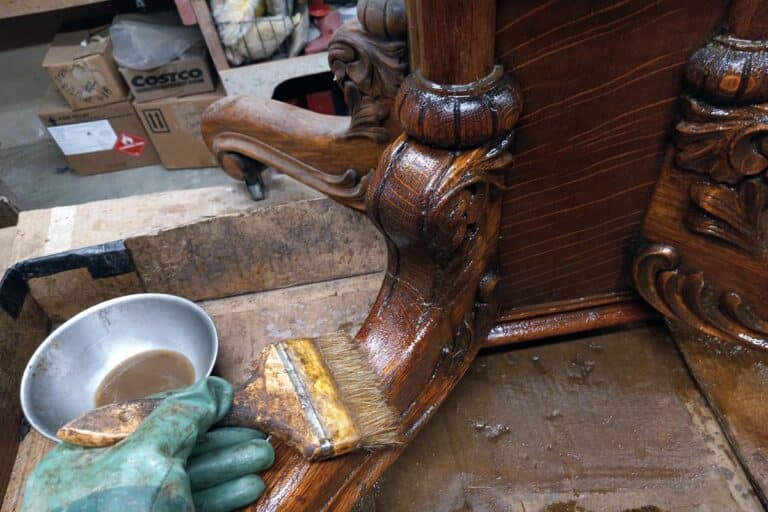
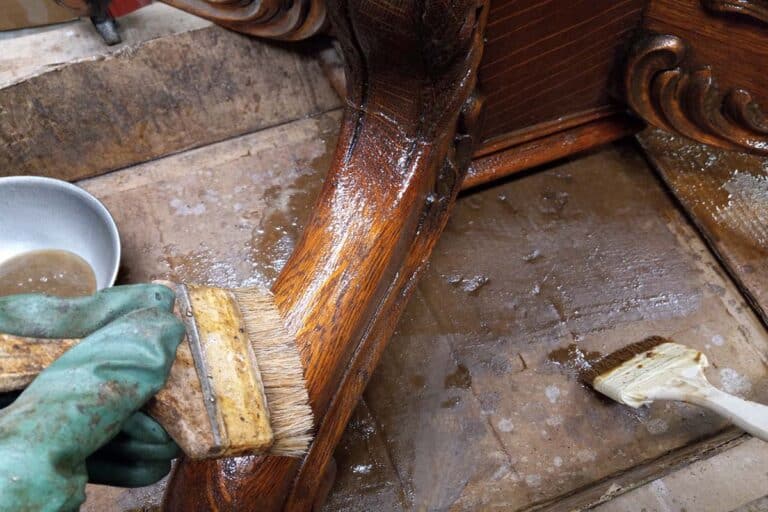
* Each finish varies depending on the type of finish being removed and other applications may apply according to the piece being stripped.
It’s very important that stripping process is done throughly and that your piece is clean. This is to ensure the finishing procedures go smoothly.
It’s very important that stripping process is done throughly and that your piece is clean. This is to ensure the finishing procedures go smoothly.
Re-gluing and Repair Process
Steps:
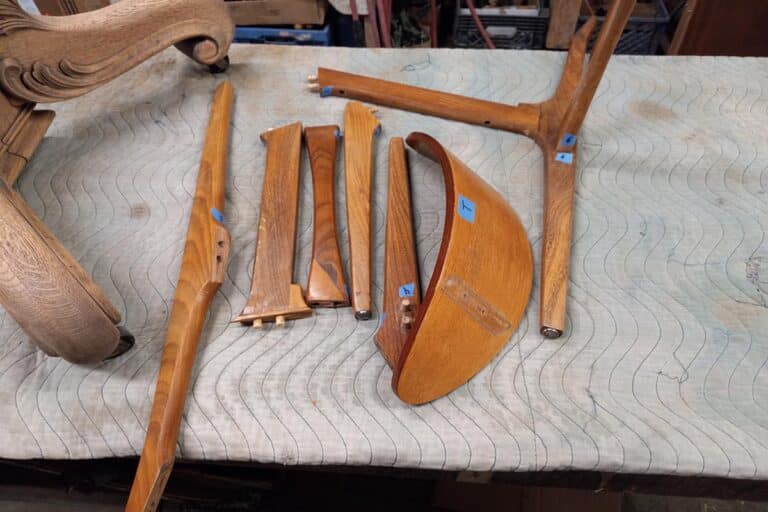
- If applicable take apart all pieces that are loose.
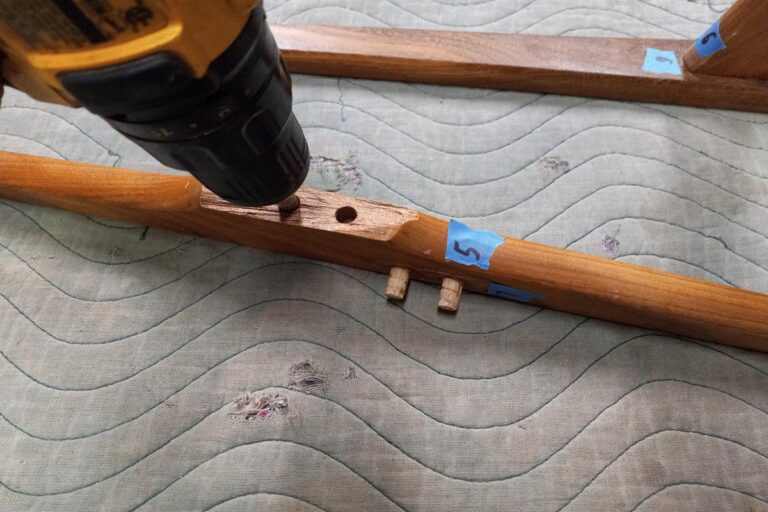
- Label all the joints to eliminate confusion when putting back together.
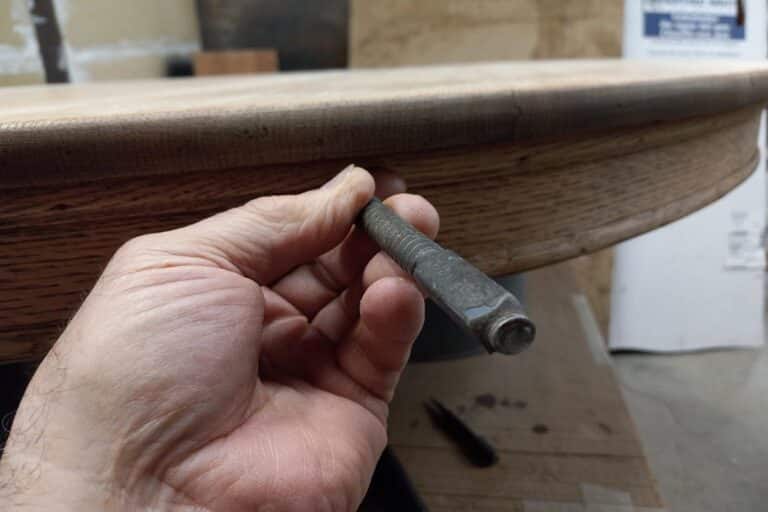
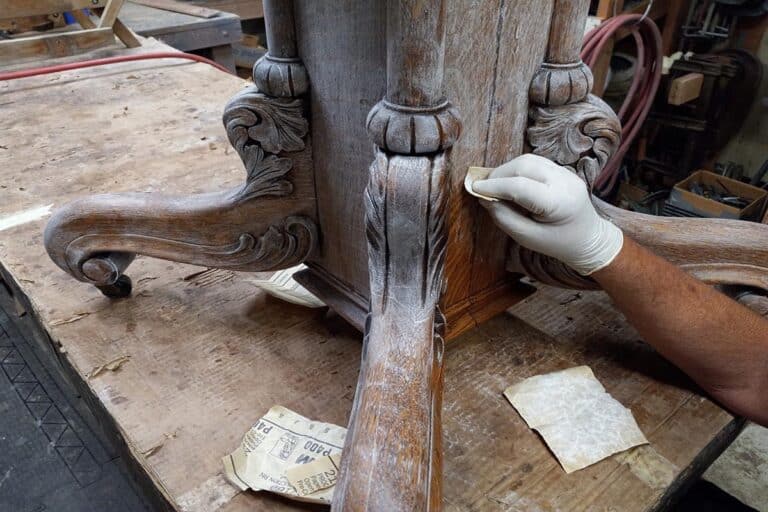
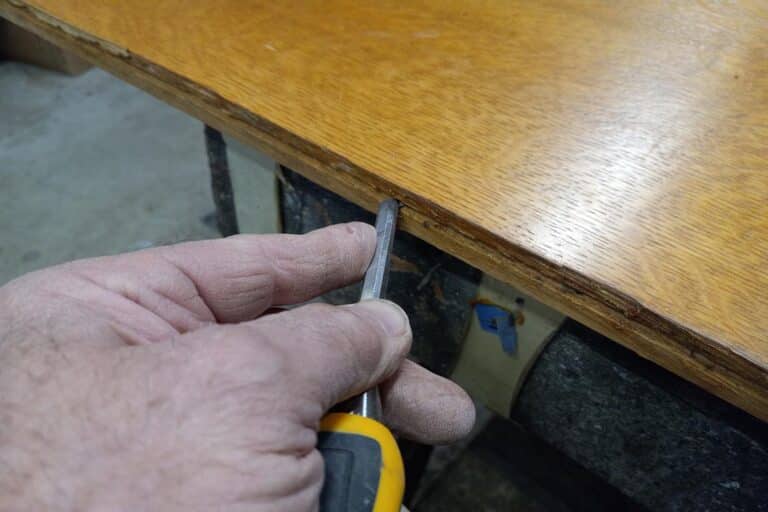
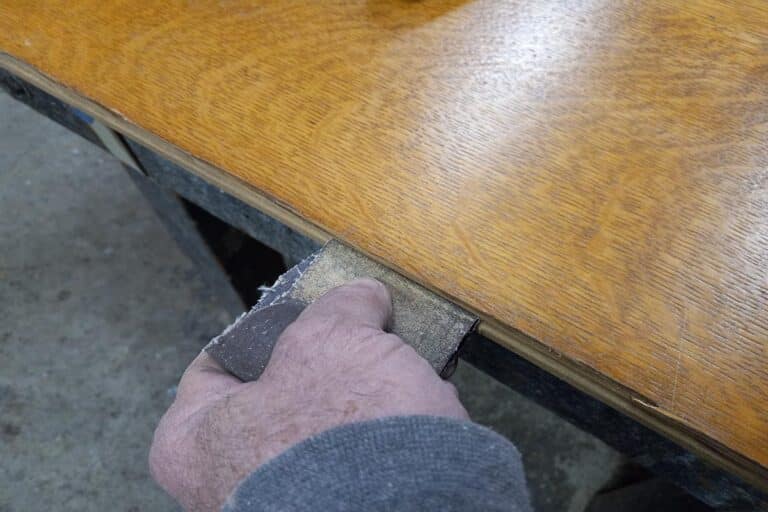
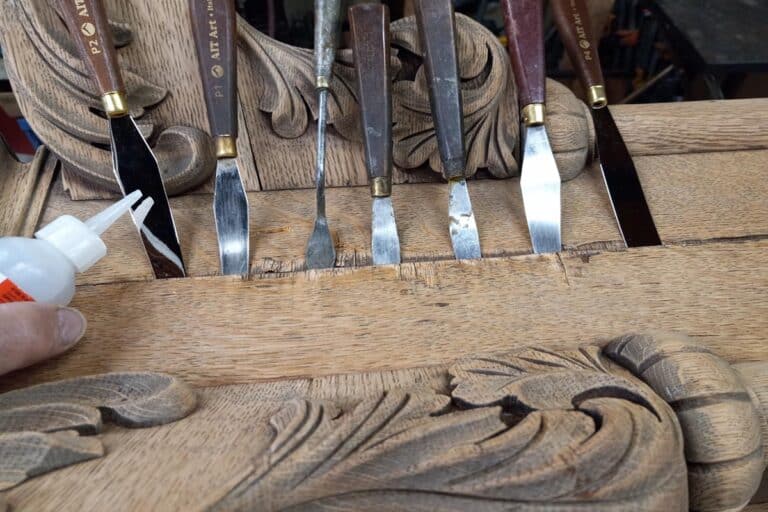
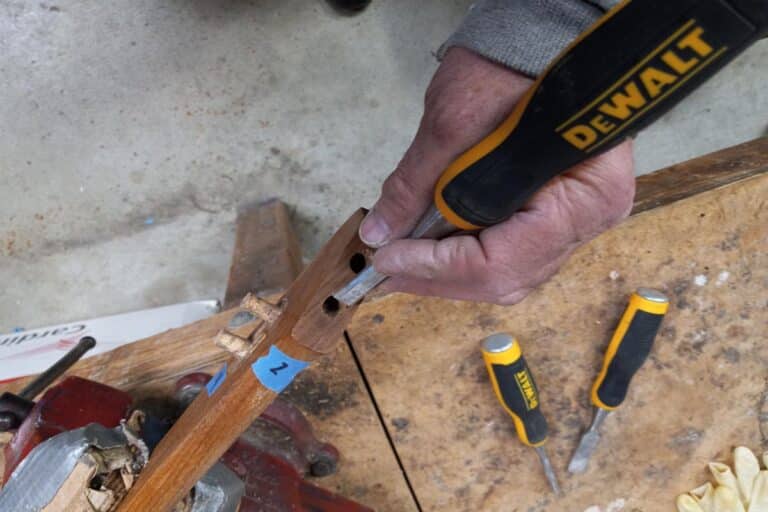
- Clean joints throughly with a sharp chisel and rough sandpaper. Be careful to not remove wood only old glue down to bare wood. *Always make sure the chisel is sharp to provide accurate working tools.
- Depending on the breaks or pieces to be glued I use either epoxy glue or tite bond glue and apply to both joints throughly.
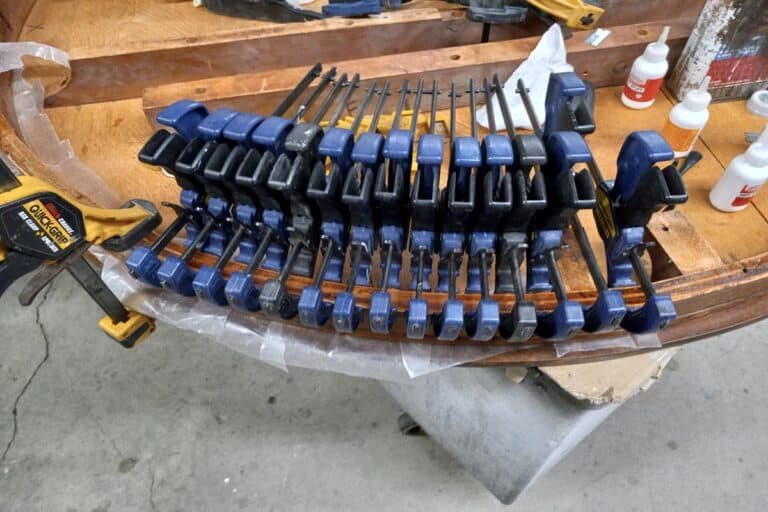
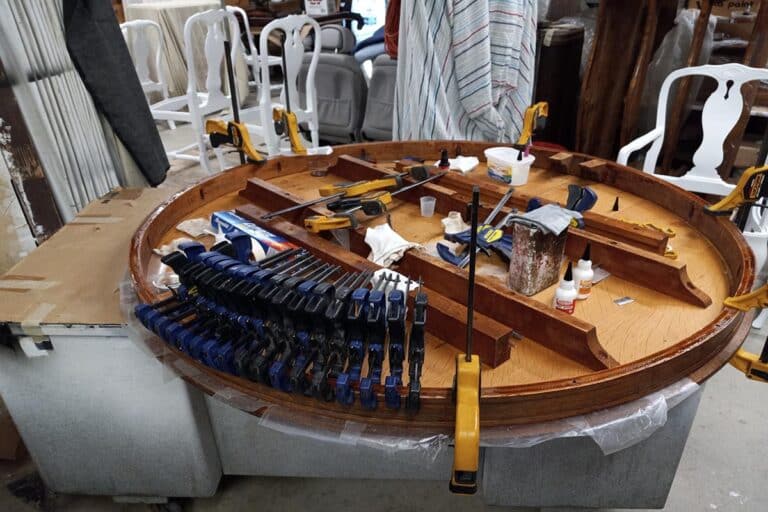
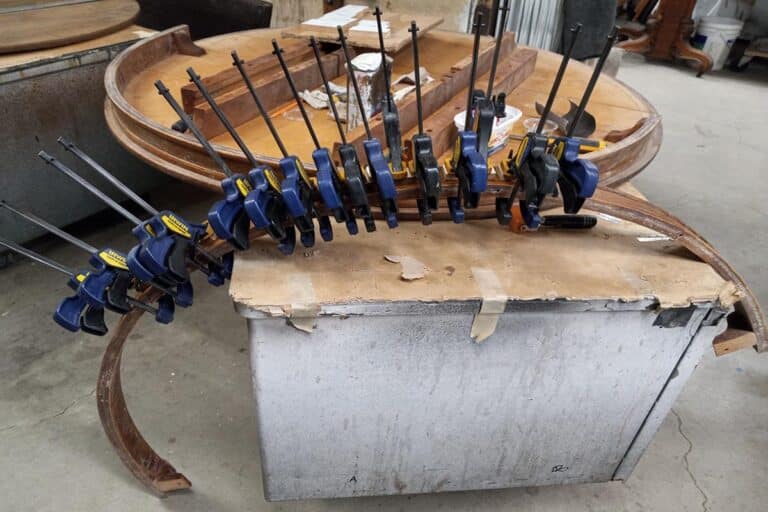
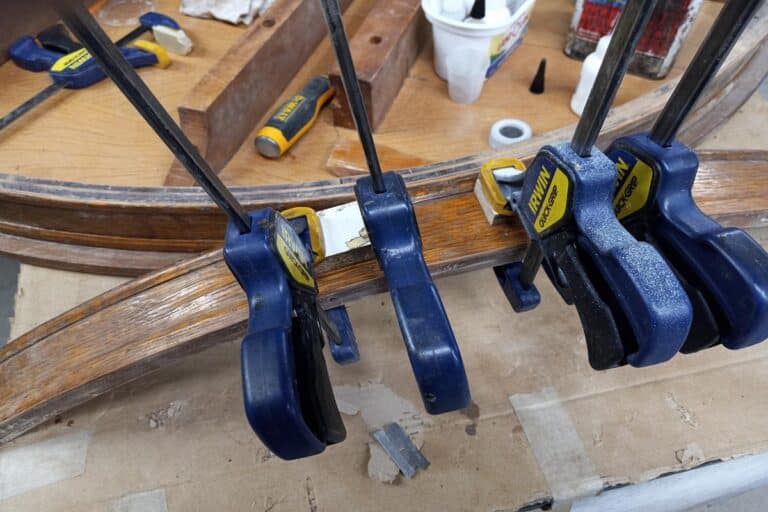
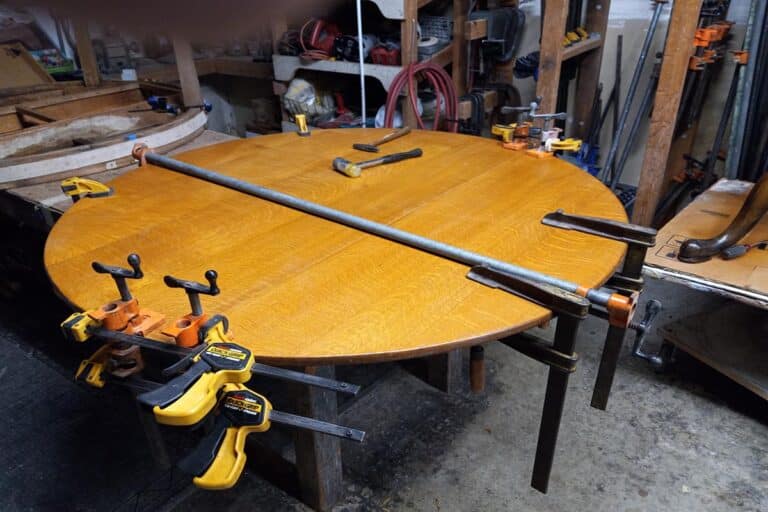
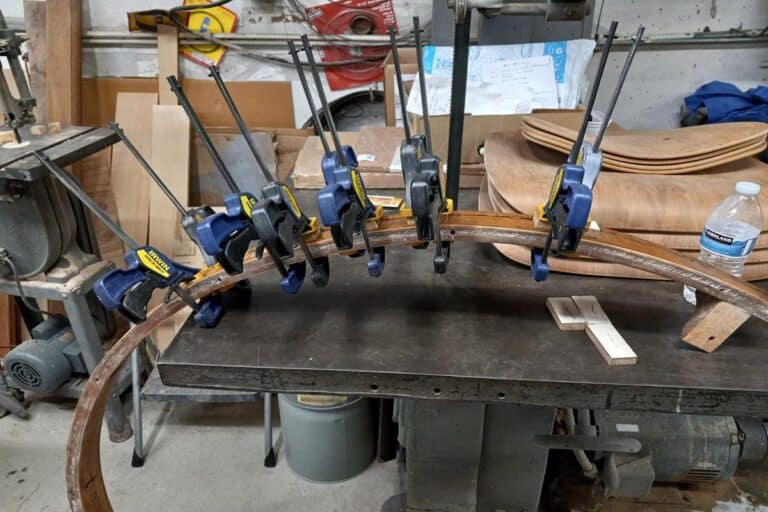
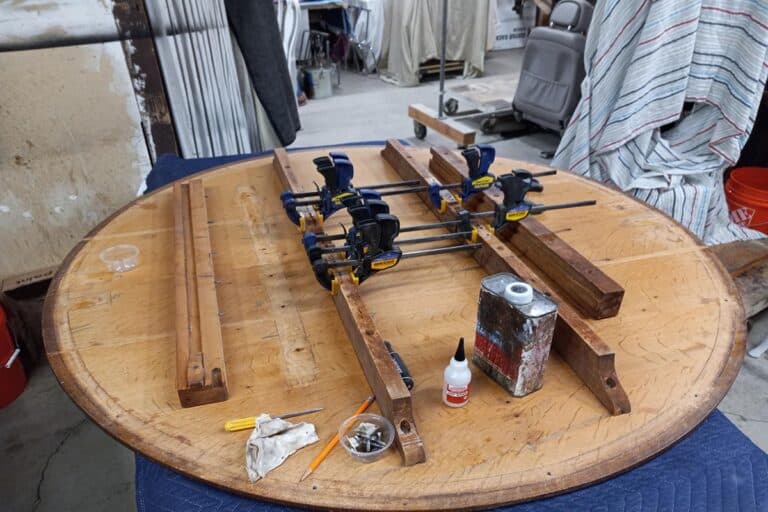
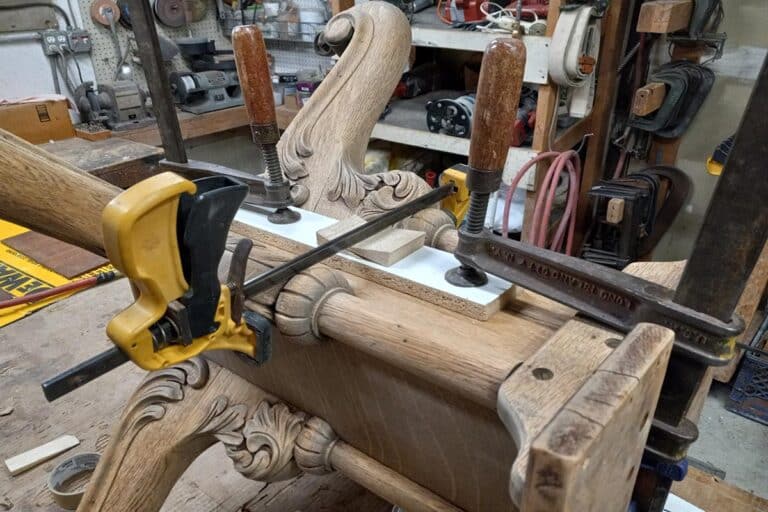
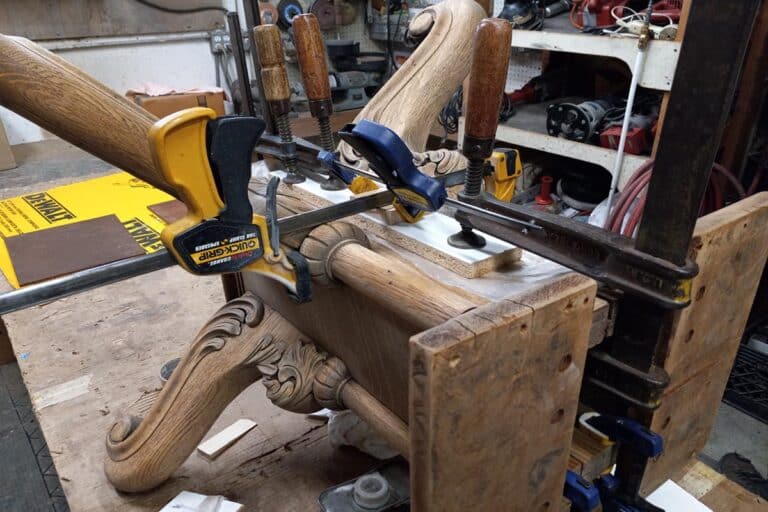
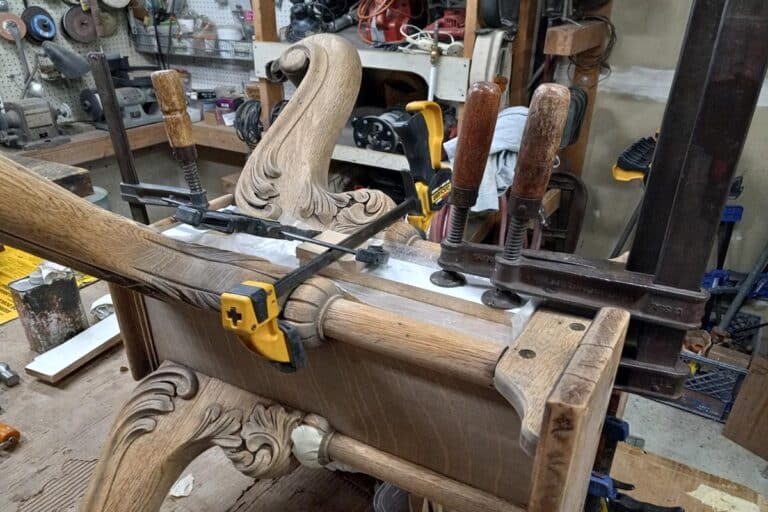
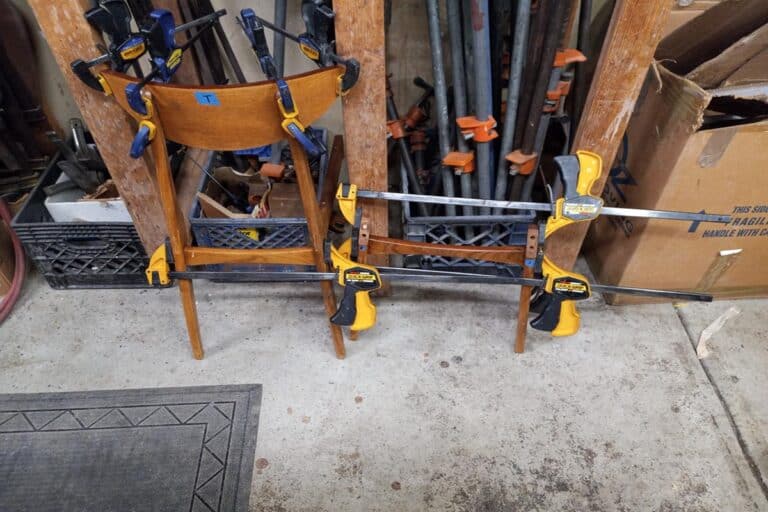
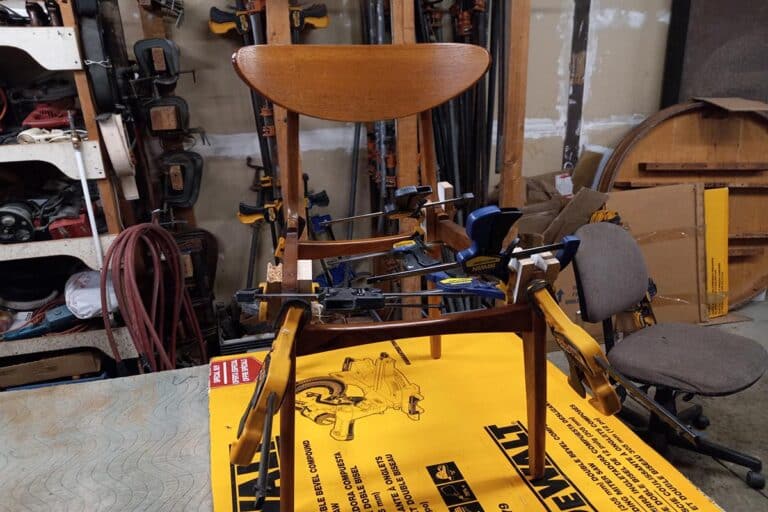
- Clamp everything as tight as possible and straight.
- Remove all excess glue, if tite bond glue use a damp rag with water. If epoxy glue use a damp rag with lacquer thinner or paint thinner depending on if the pieces are going to being stripped or if the original finish is going to be restored.
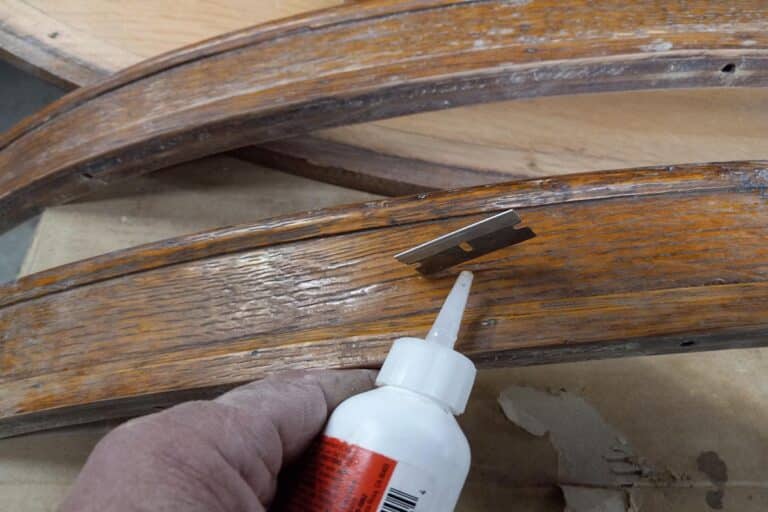
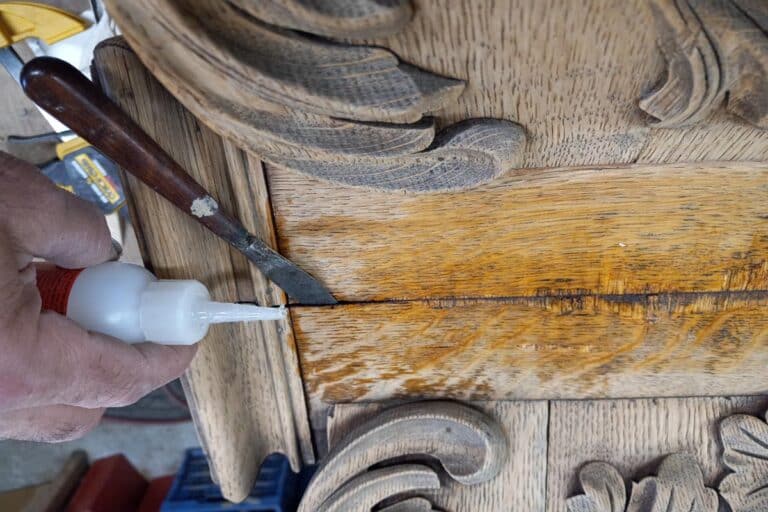
- For joints that don’t come apart I apply cyanoacrylate glue to the joints thoroughly.
Finishing Procedures
Steps:
- Apply filler where needed if necessary.
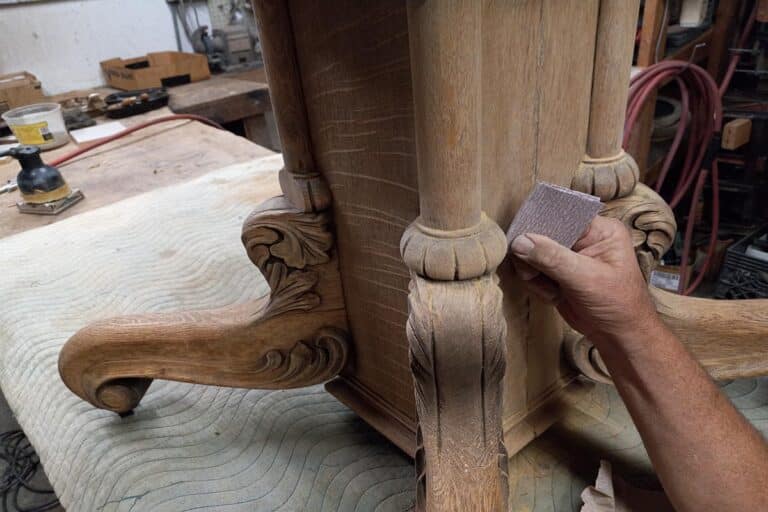
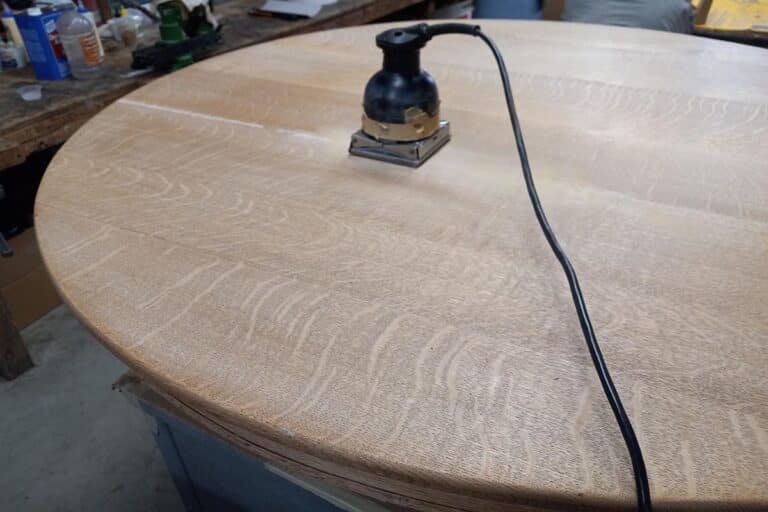
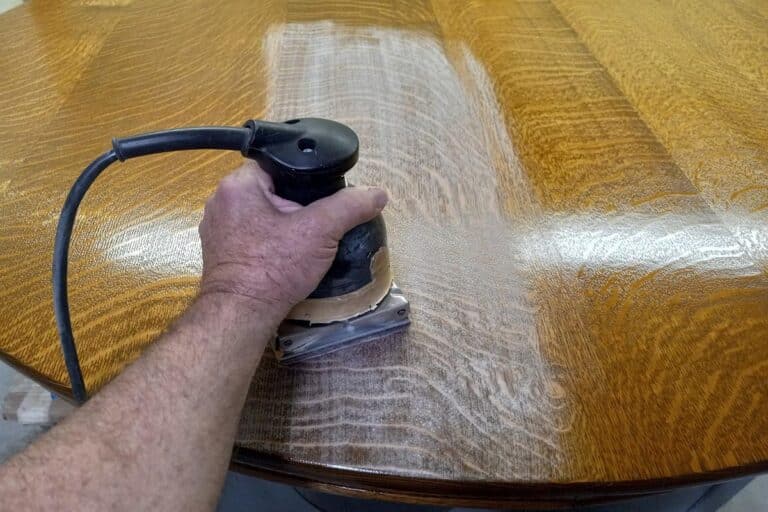
- Sand all pieces throughly.
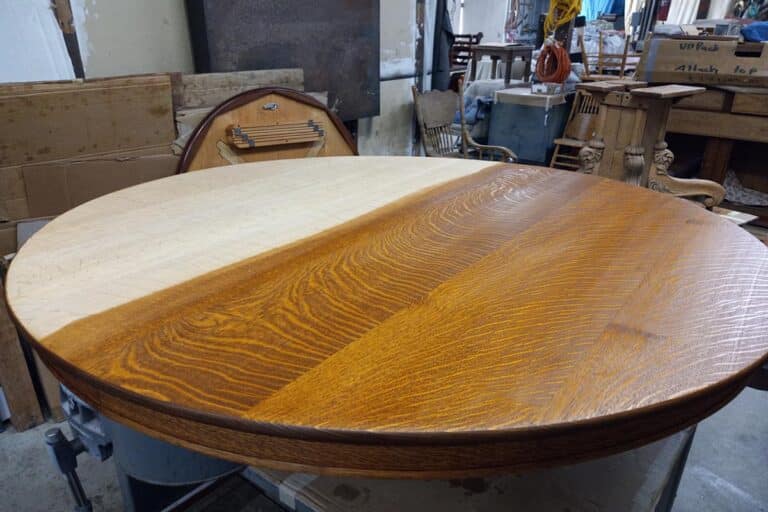
- Stain color of choice using the various stains.
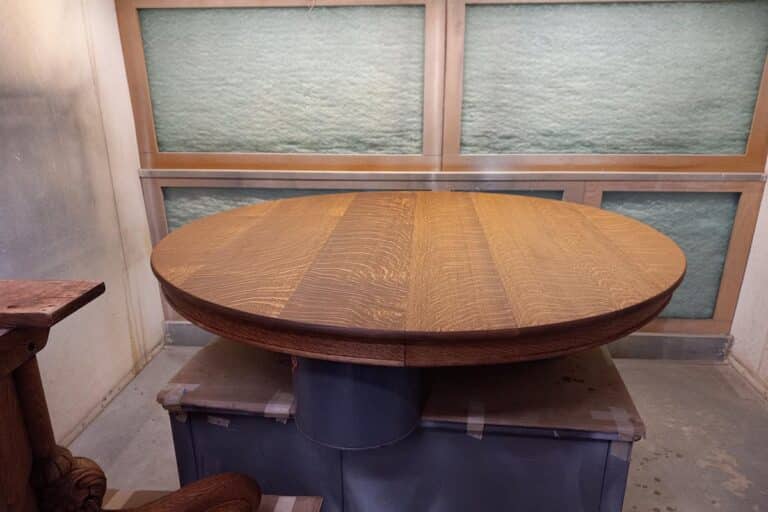
- Seal pieces with several coats of sealer.
- Then fine sand and pad sealed coats.
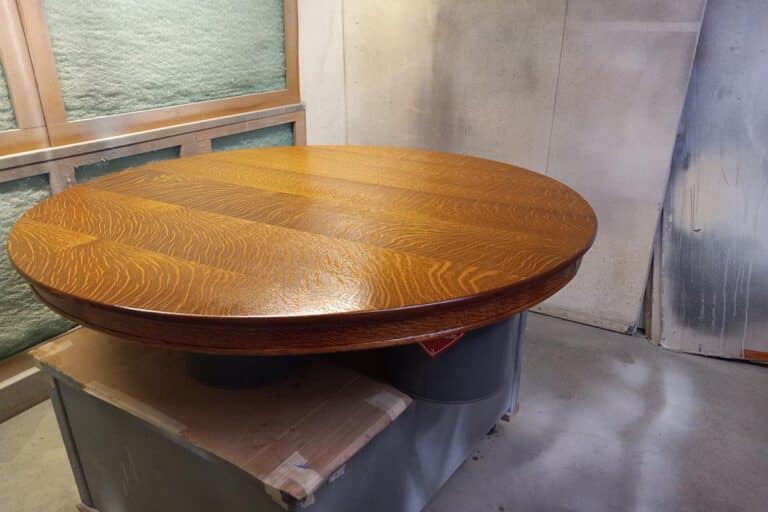
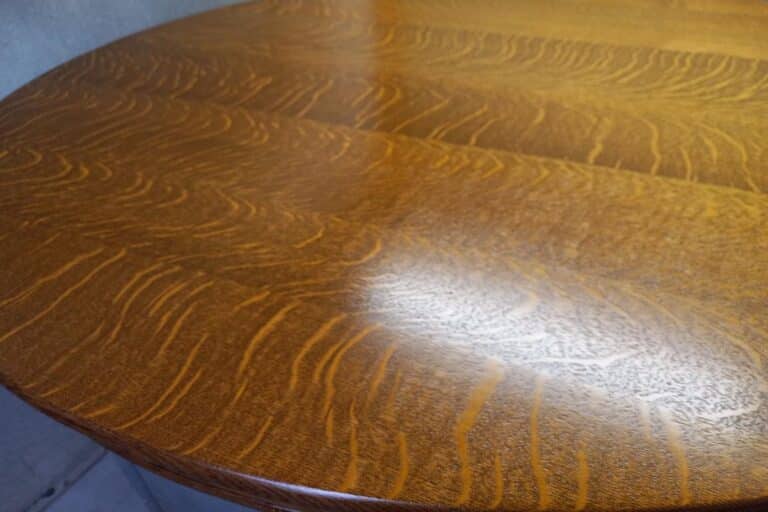
- Apply finish coats with sheen of choice.
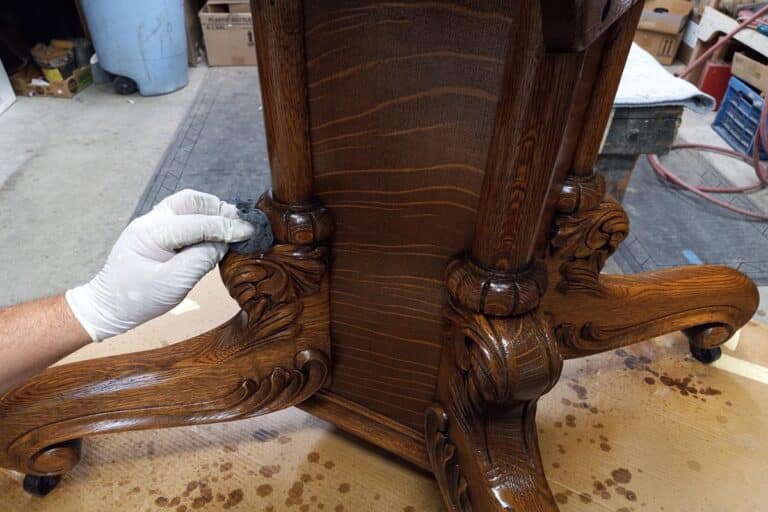
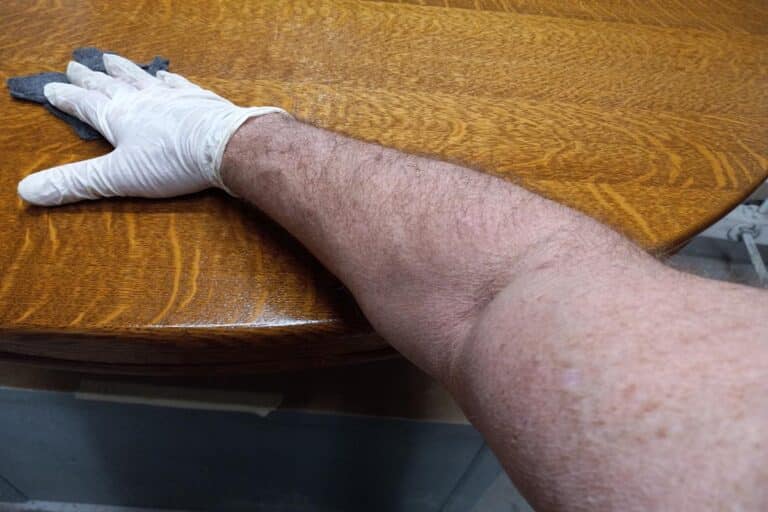
- Hand rub and lemon oil or wax the finish.
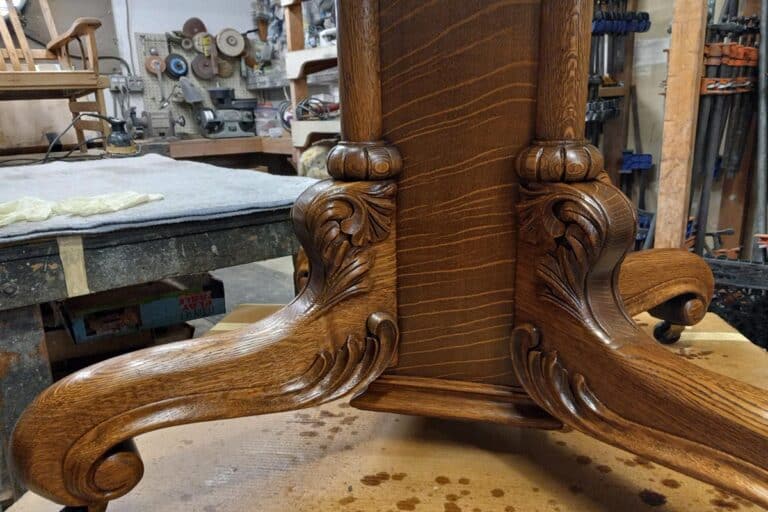
- Assembly procedure if applicable.
*There are many different finishes from oil finishes to piano finishes and everything in between. All procedures are different.
*All finishes vary with the different stains and clear coats. Different procedures may be necessary. Also, different finishing techniques can be added between finishing procedures for unique finishes.
