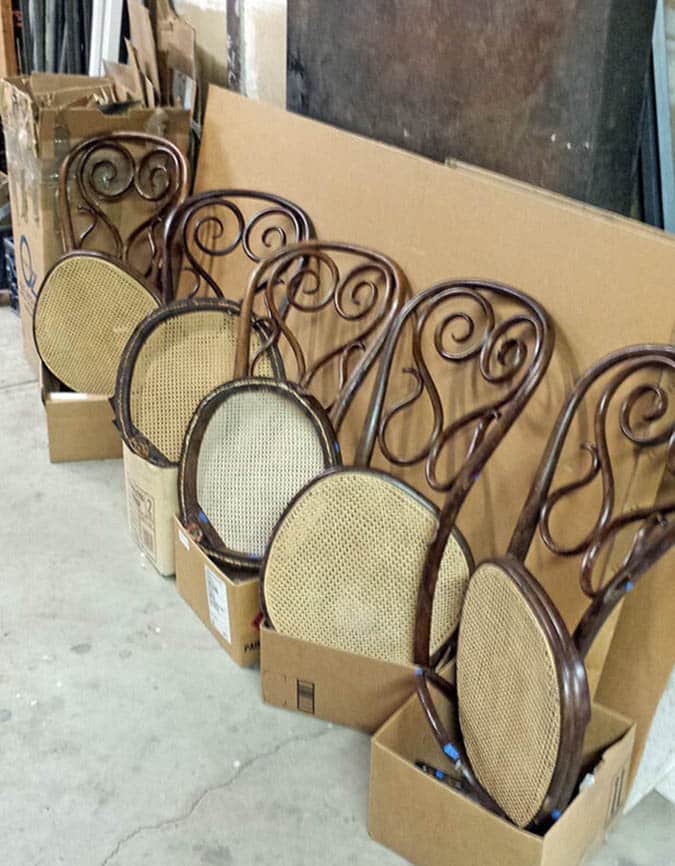
This Rancho Mirage furniture restoration project was to restore a set of six antique cane seat chairs. The chairs are by famous 19th-century furniture designer and innovator Michael Thonet. They were in need of serious attention to restore them to their former beauty. To read about Michael Thonet on Wikipedia, click here
The client’s comment after taking delivery was, “Magnificently restored! Most superior workmanship.”
Here is the review he wrote for me as a letter of recommendation:
“Dear Mark, I want to tell you how pleased we are with the restoration you did on our six Thonet Bentwood chairs. The frames were at a stage when they needed some serious work. In fact I wonder if they had ever had very much done to them in their 150-year plus history. Some of the legs were decidedly rocky and such work as had been done elsewhere to the frames was often somewhat rough and ready. They are now stable, they have new screws replacing the former ones which had become rusty and all the joints have been re-glued and made secure. They look very handsome and we can use them with confidence.
Thank you for all the excellent work you did, not only the technical side but also for the sensitivity you showed for the objects you were working on. It is great to have these beautiful chairs back in service and we are very grateful to you for having made this possible. I will certainly have no hesitation in recommending you to anyone I know in need of restoration services. – With thanks and best wishes, Sincerely, Alan Brimble, Rancho Mirage, CA”
Please see the project gallery below to follow the steps of this Rancho Mirage furniture restoration from start to finish.
Click an image for expanded view and then scroll through the project gallery using the arrows to the side (or swipe on your mobile device)
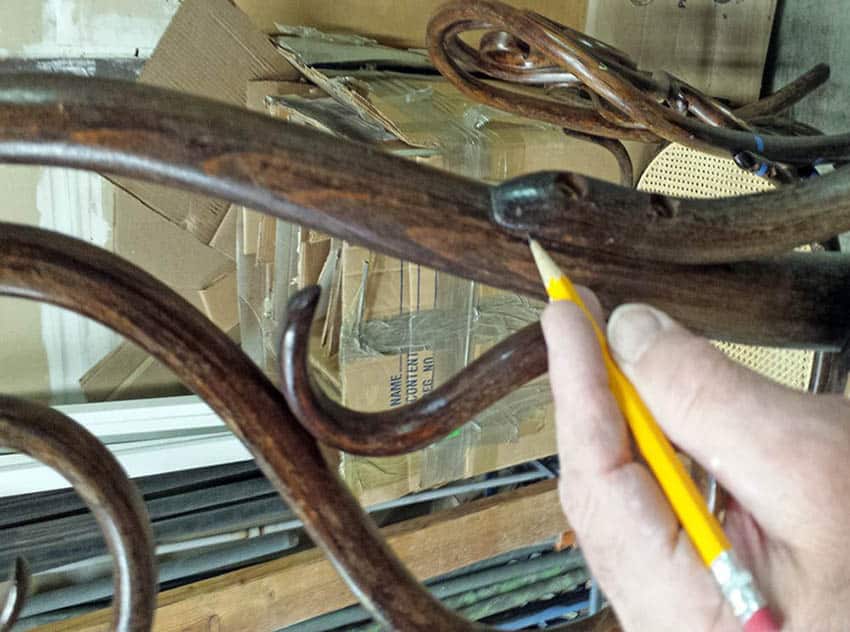
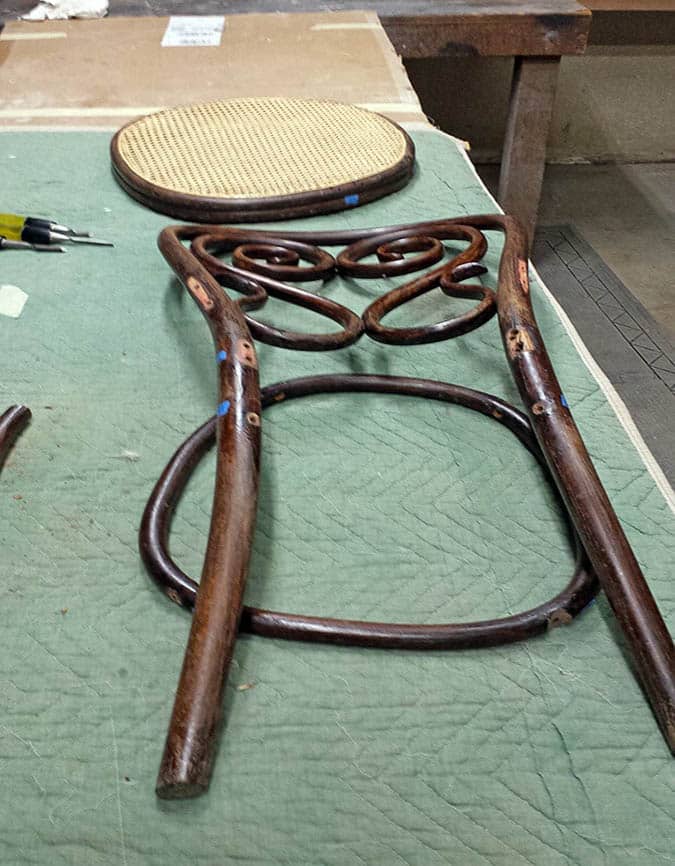
Marking and outlining the position of all the chair pieces for the cleaning of the joints to be glued, without disturbing the finish.
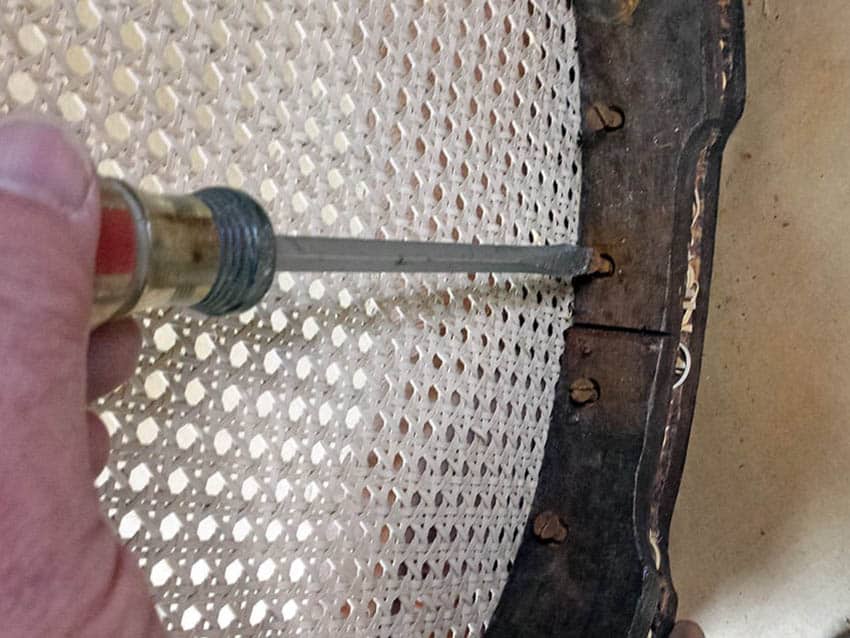
Removing the screw caps before removing the screws in order to dismantle the frames
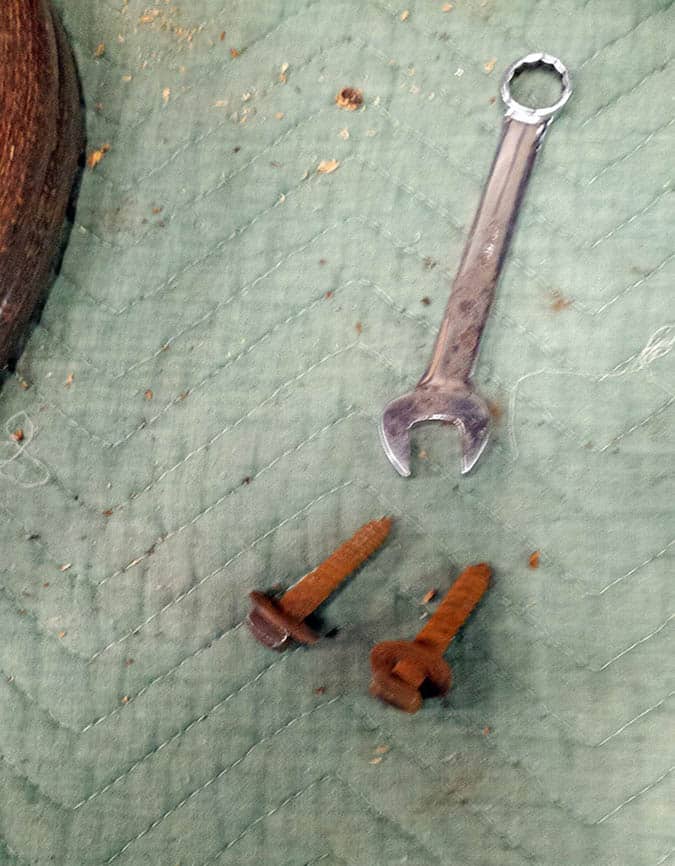
Screw caps are removed, revealing the rusted screws holding the frames together.
Removing the seat frames screws on the back part of the seat.
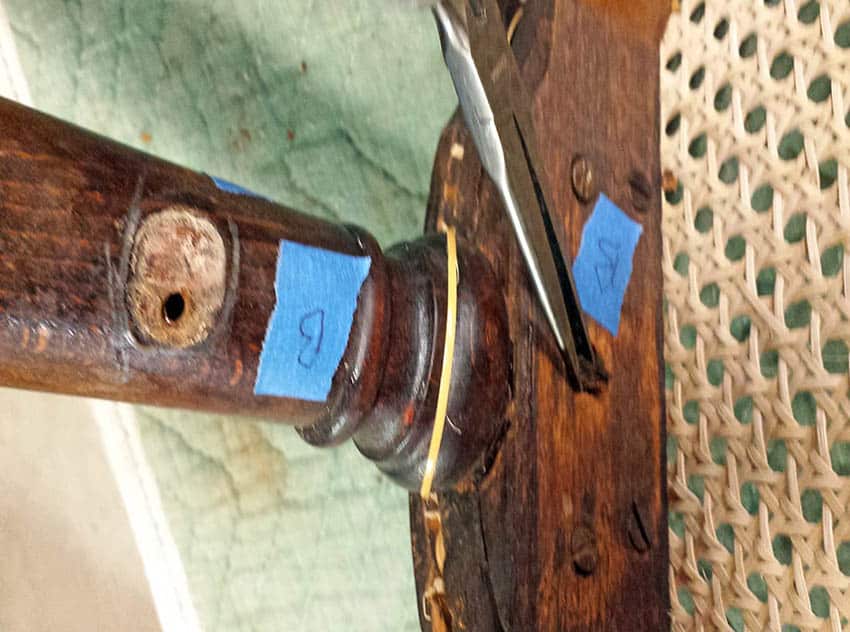
All parts had to be labeled and numbered as well, these are the front legs.
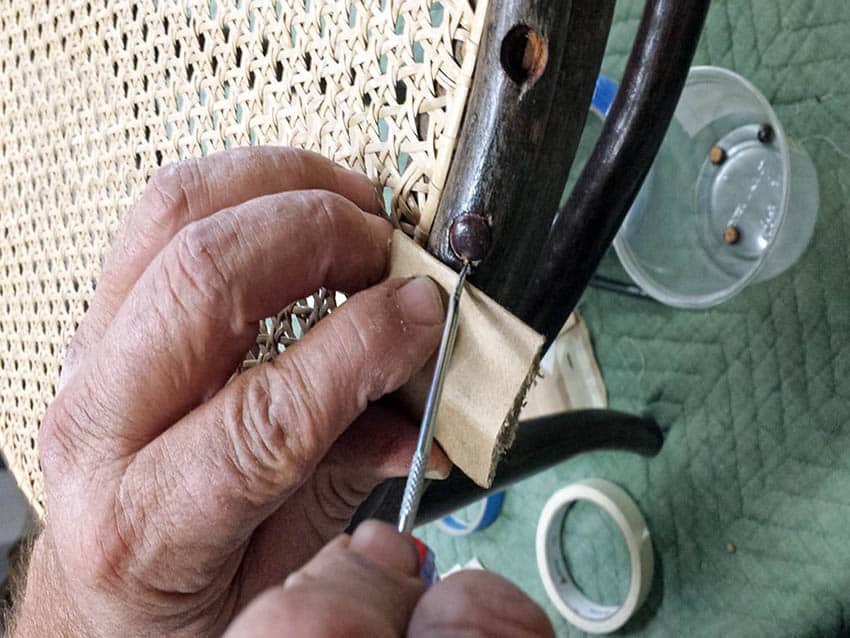
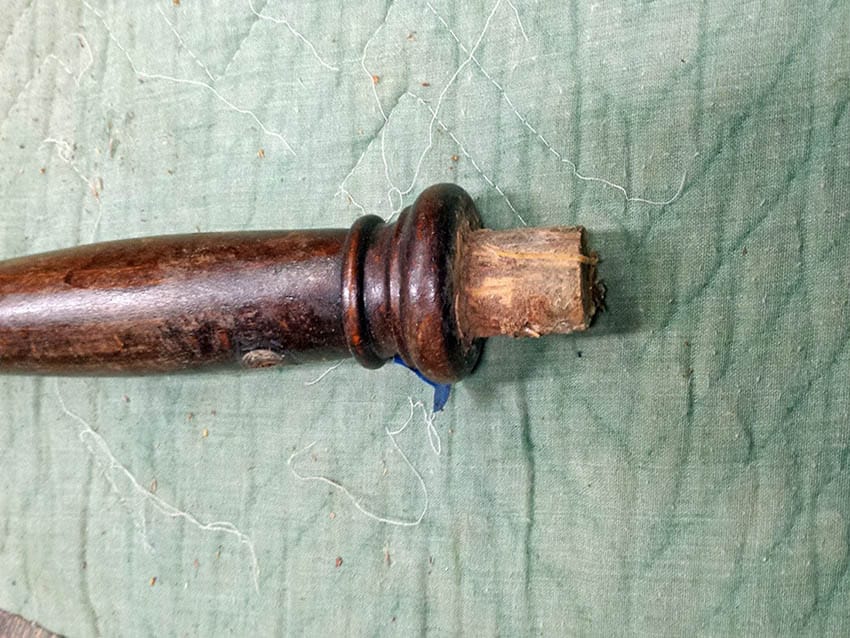
Removing wooden peg out of front leg.
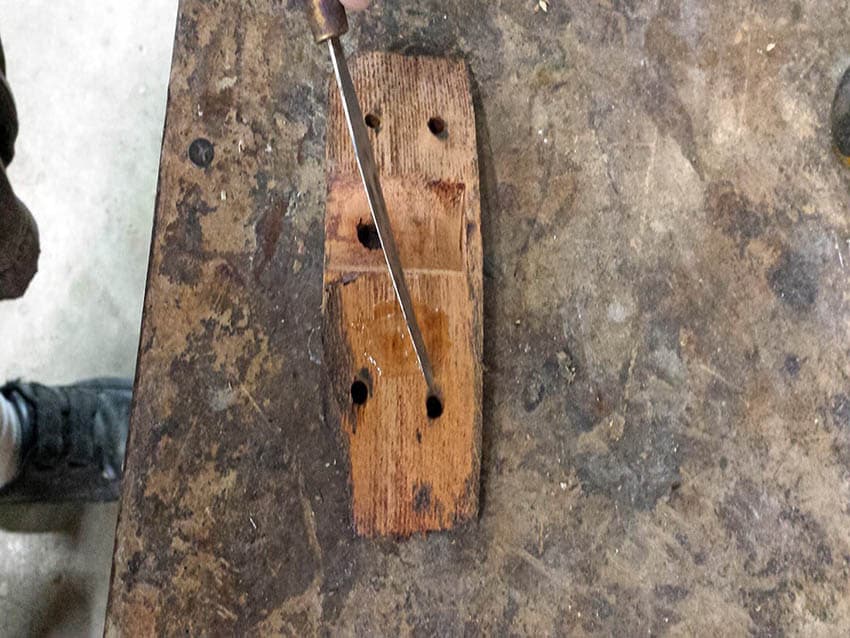
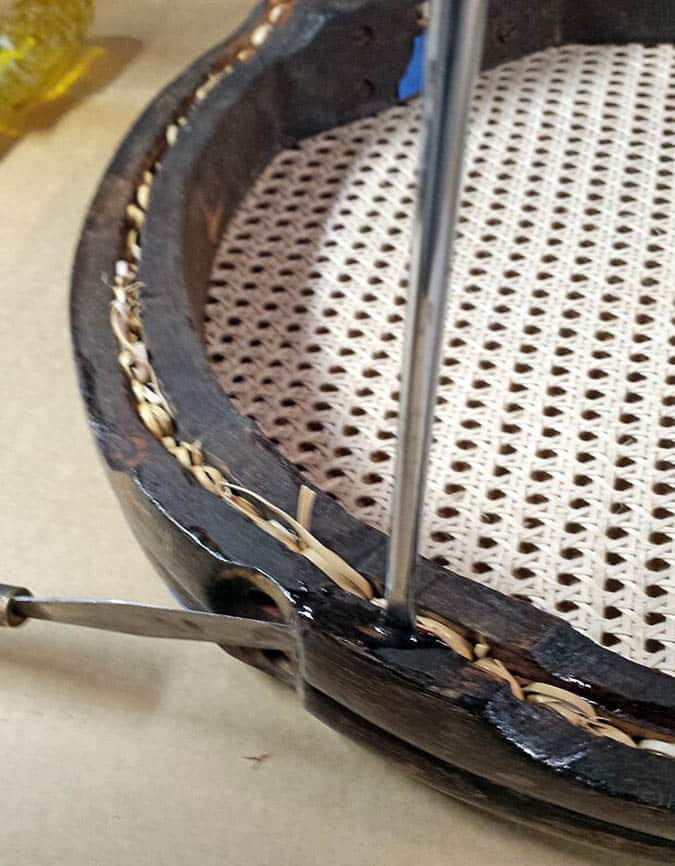
Applying epoxy glue in split and in hole cane to hold the hole can in place.
Inserting small wood dowel in cane hole with epoxy glue for extra strength.
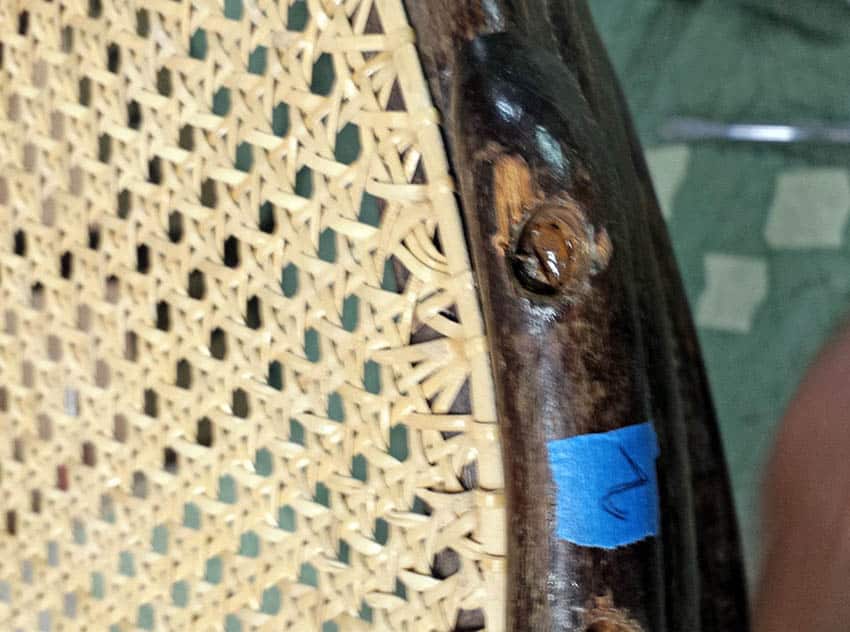
Removing unnecessary cane after gluing it in place
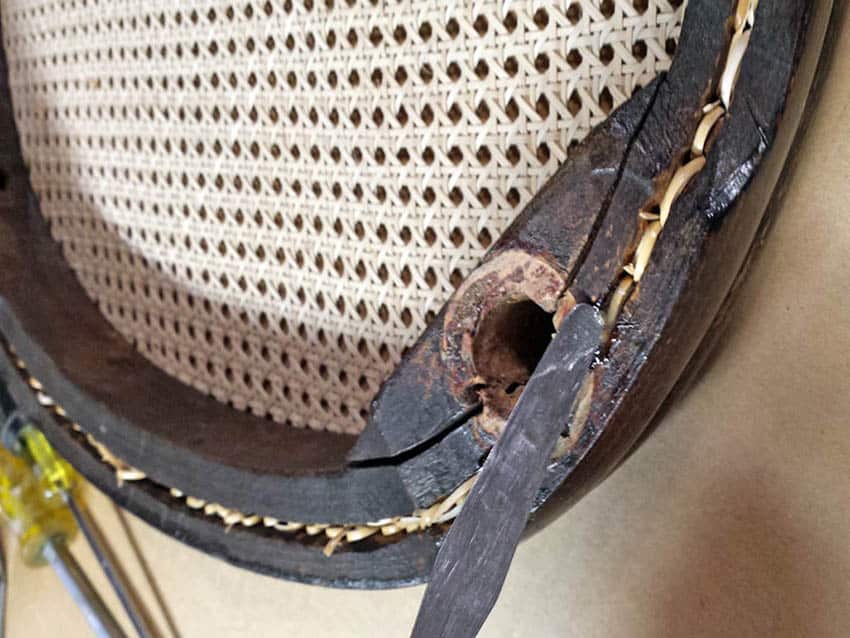
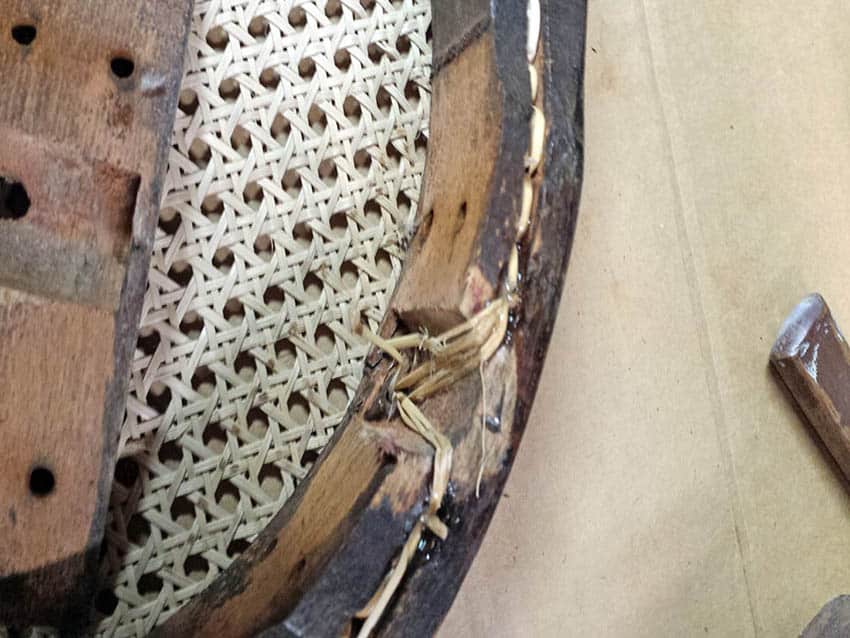
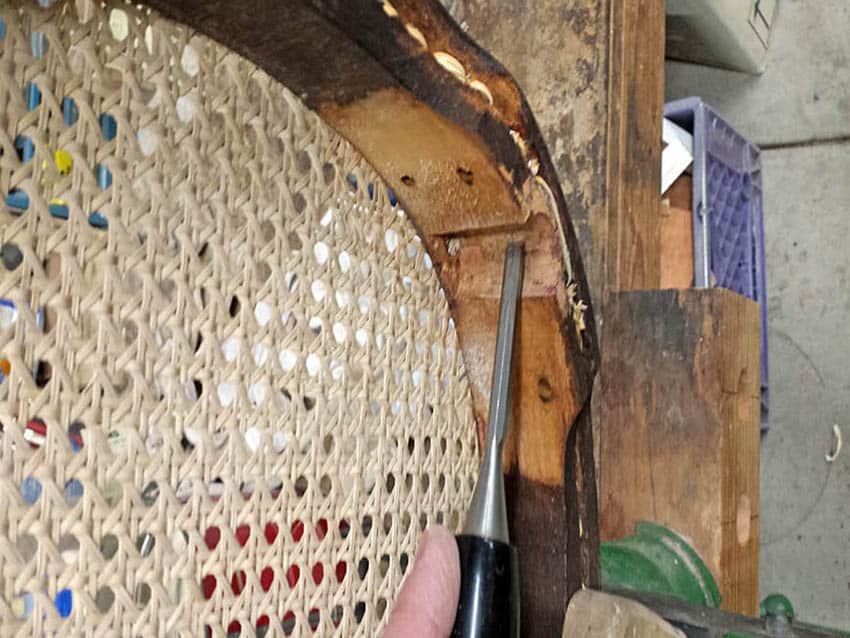
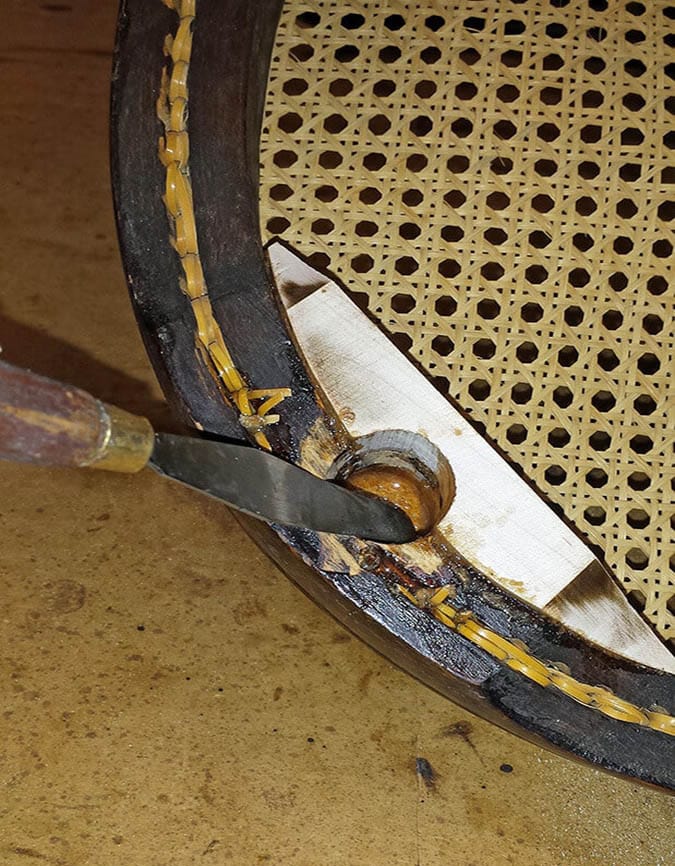
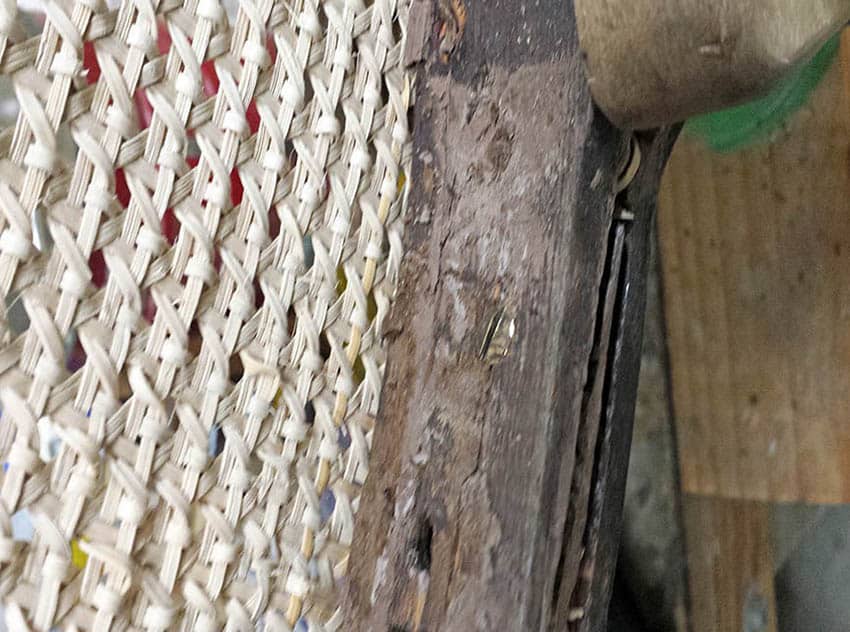
Removed front leg glue blocks to expose cane in front of leg joint.
Cane in leg joint is fully exposed and ready to be epoxy secured and to remove excess out of front leg joint.
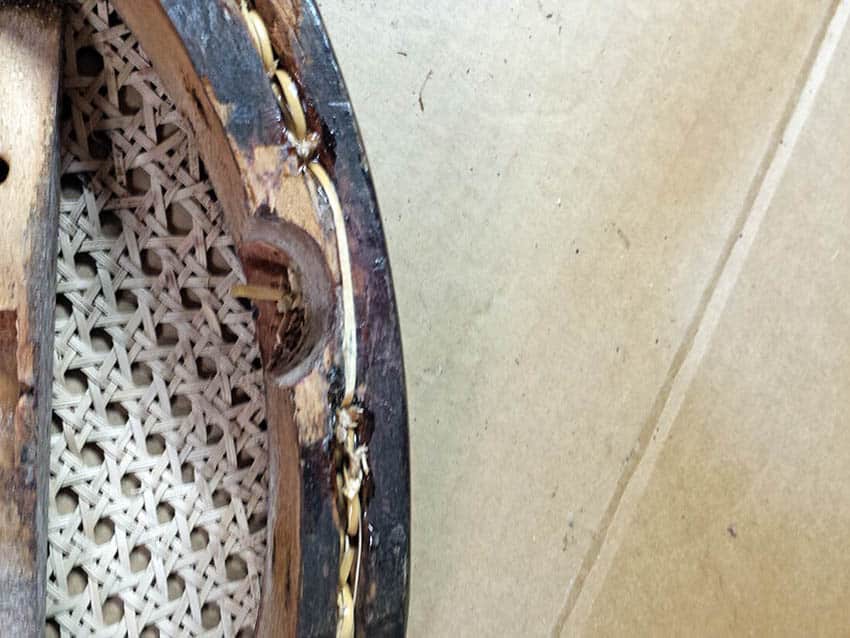
Cane removed from leg joint and ready to clean.
Removing old glue from front leg joint glue block.
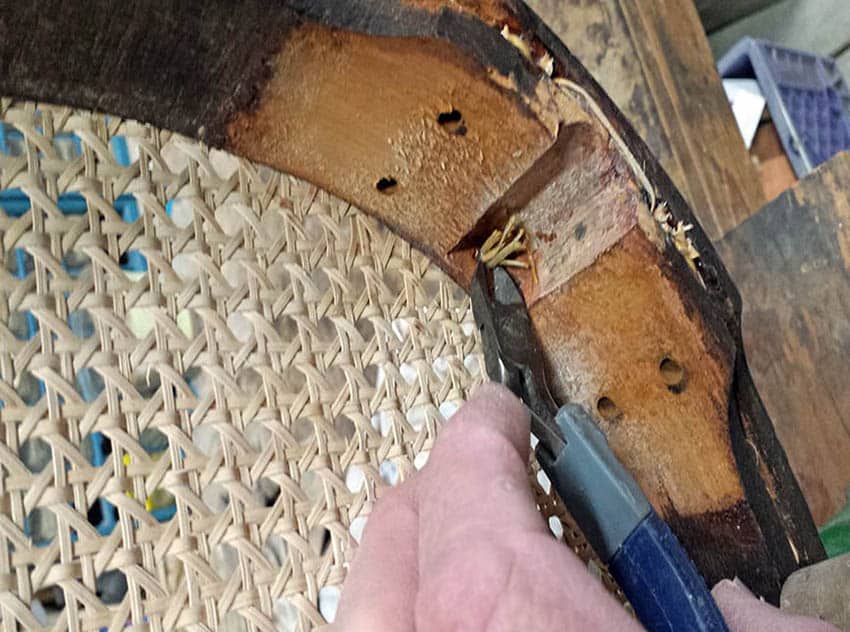
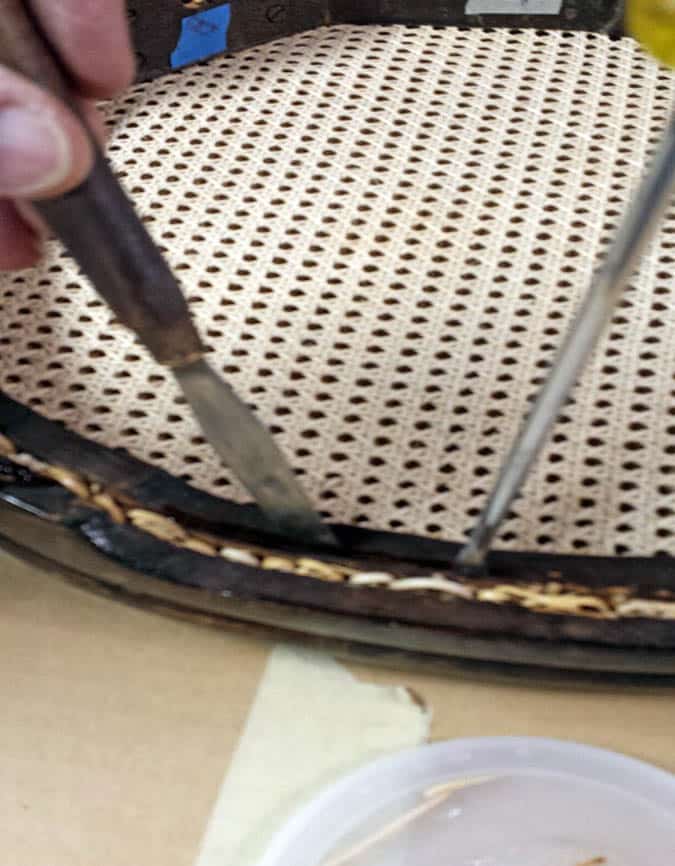
Removing excess cane.
Removing old glue out of joint.
Applying epoxy glue to the seat stretcher.
Applying epoxy glue to front block which holds the front chair leg.
Applied epoxy and reassembled front block onto chair seat for front leg.
Front seat frame all glued and ready to glue front leg on.
Front chair leg joint ready to remove old glue.
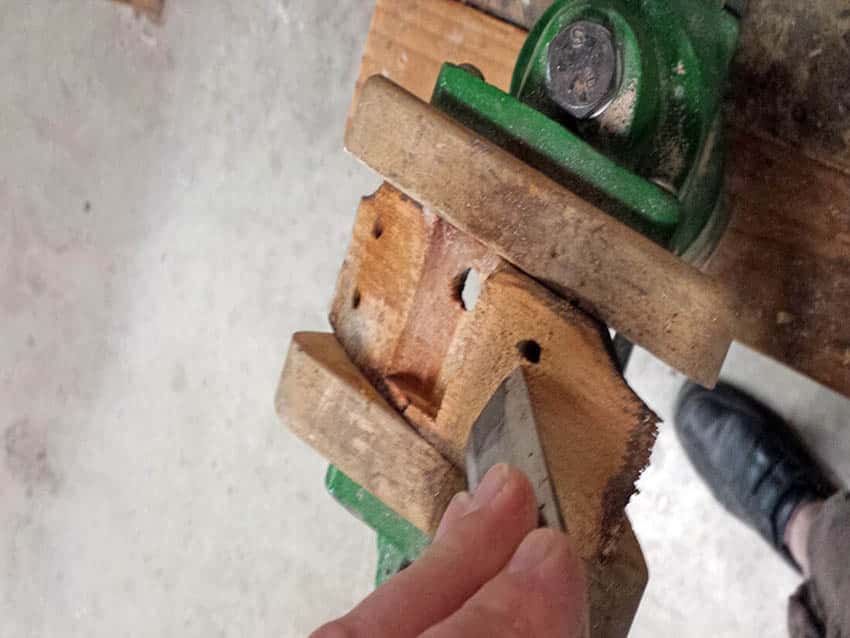
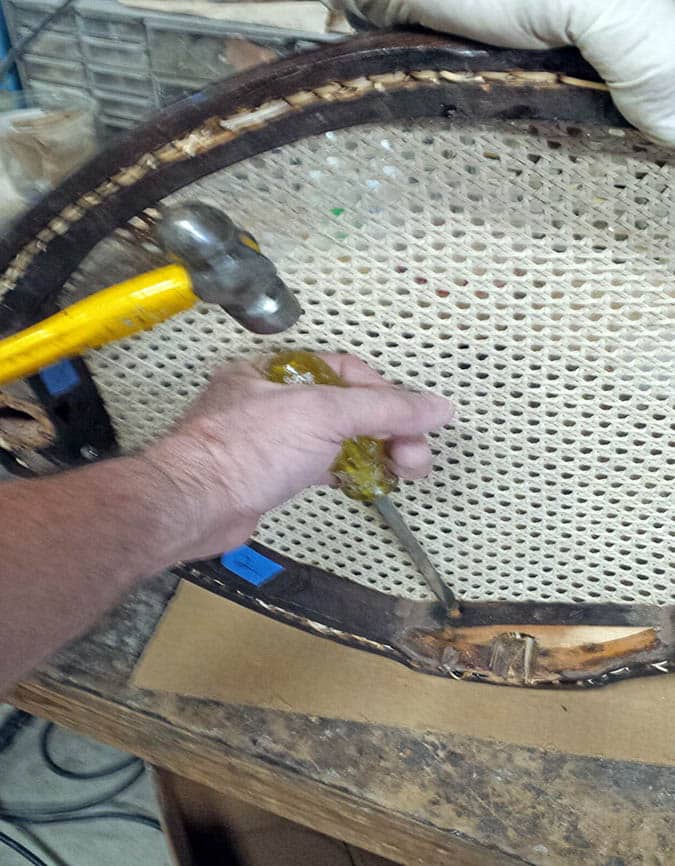
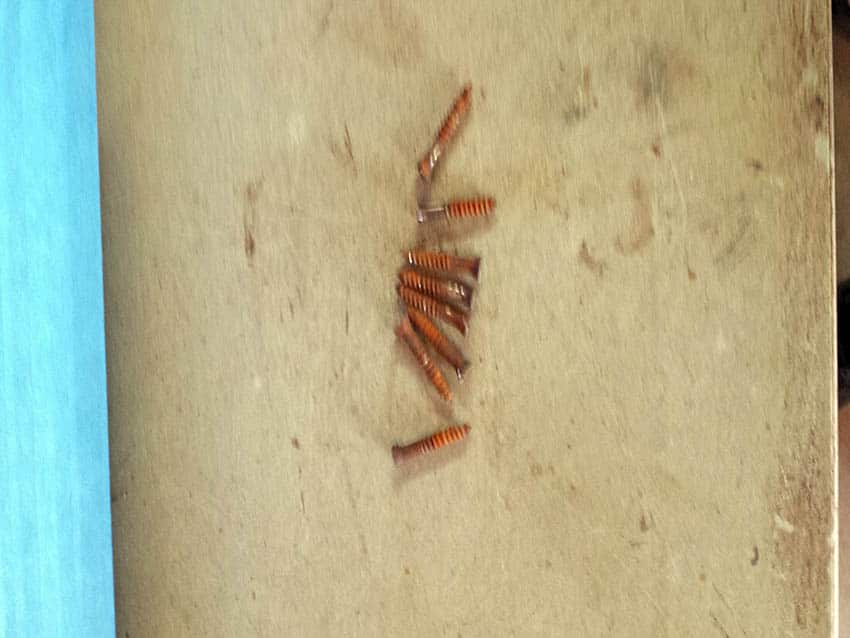
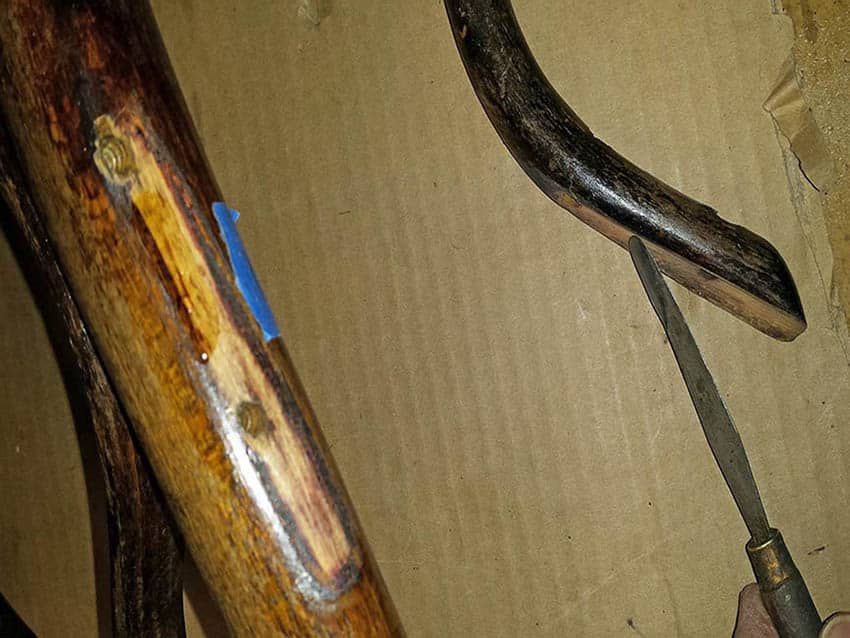
Cleaning up screw slot with hacksaw. Every screw needed this application and each chair had about 20 screws that needed this application on every chair.
Back leg lag screws all rusted ready to be wire wheeled to clean to bare metal.
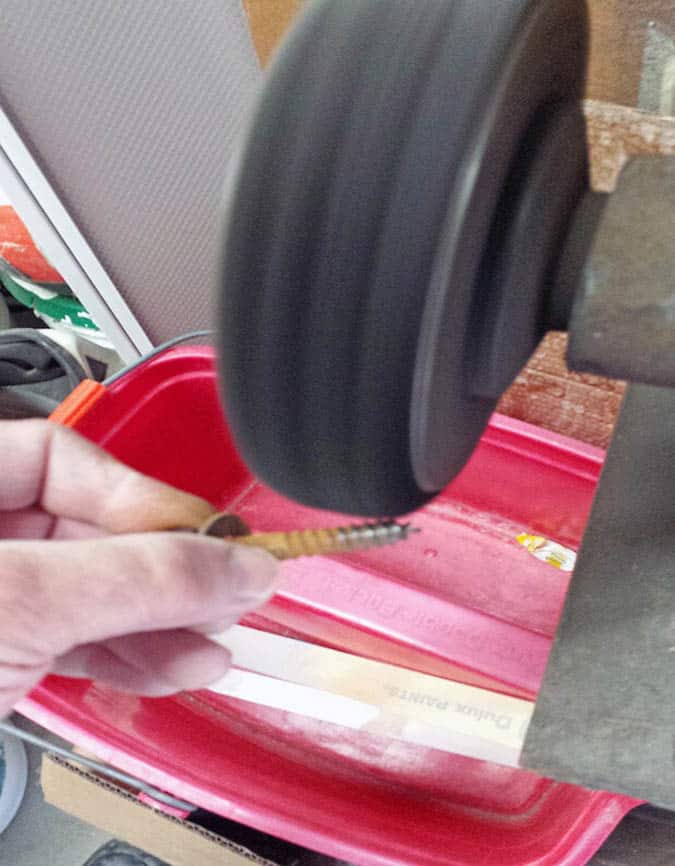
Cleaning off rust on screw on wire wheel
Filing off burrs on screw heads.
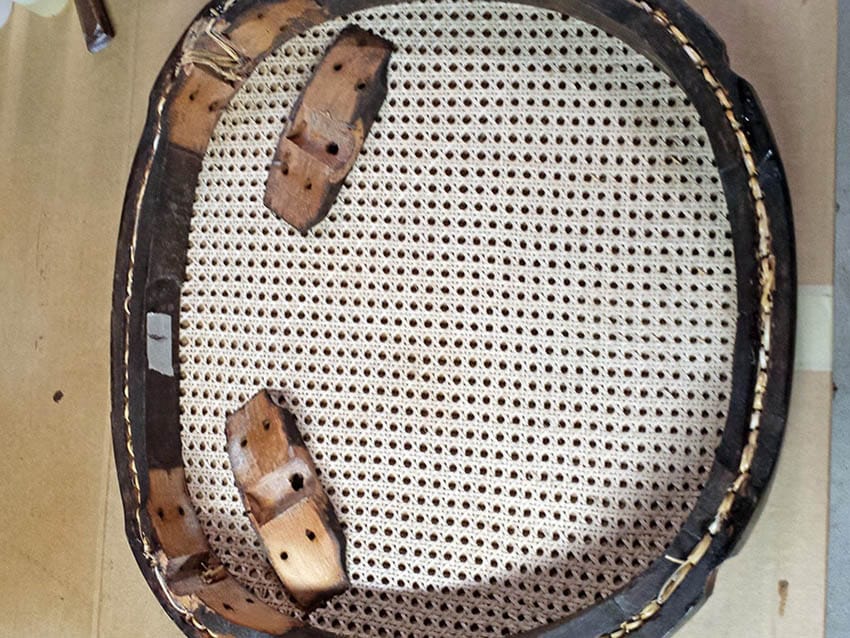
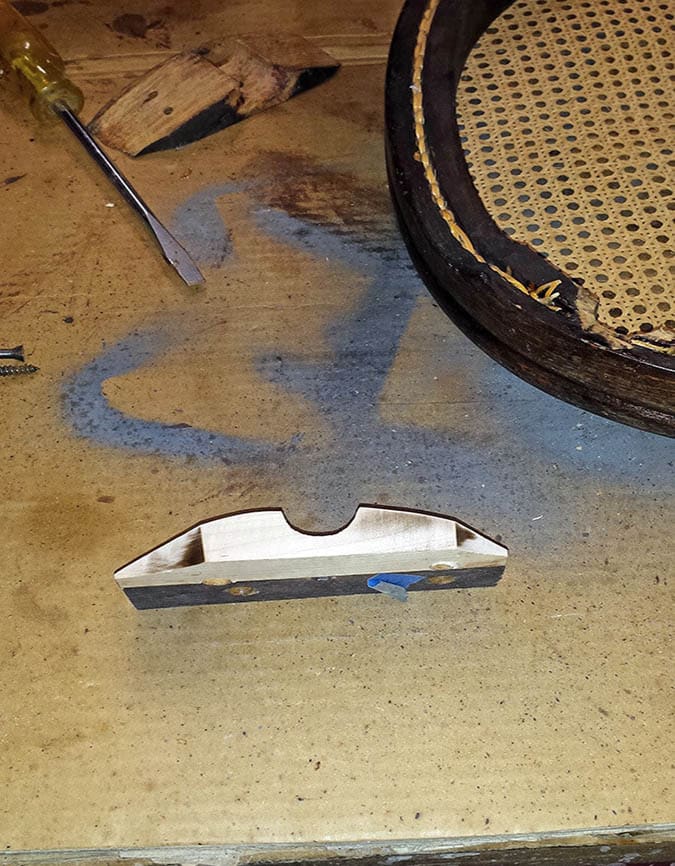
Part of front leg glue block was missing and a new piece had to be made and glued on.
New piece on glue block glued on and trimmed to fit and raedy to glue on front of chair seat frame for the front leg.
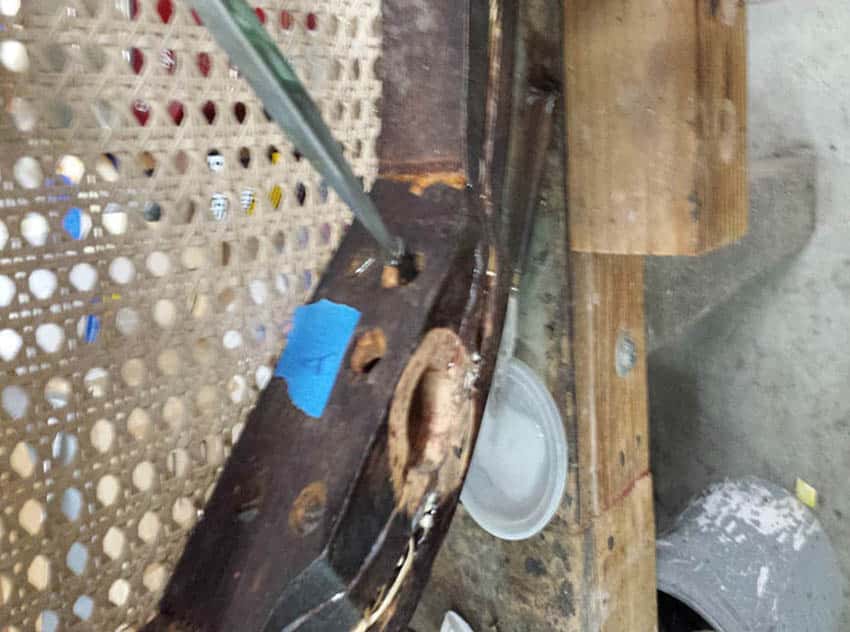
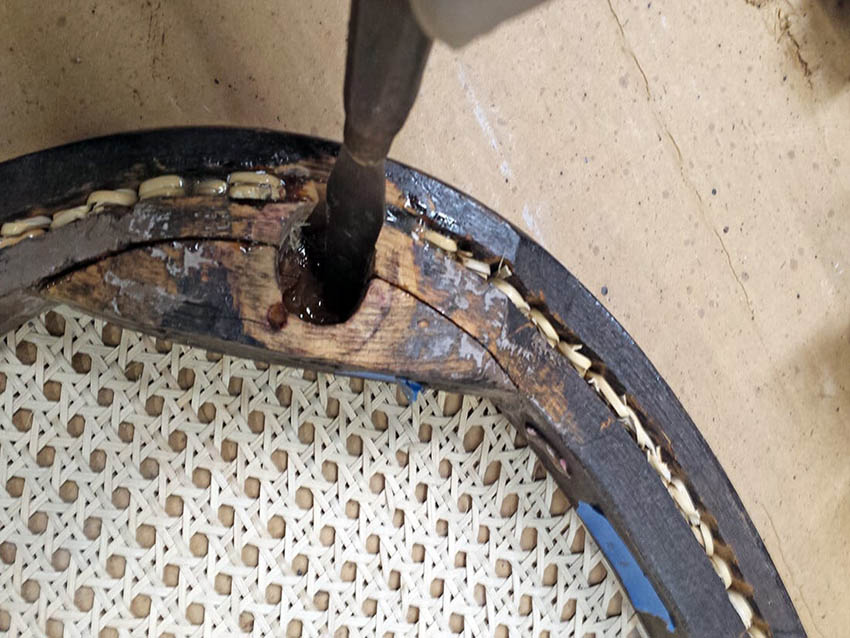
Block glued in place and filling any cane holes in top with epoxy so when gluing front leg in place the glue won’t run out of the cane holes.
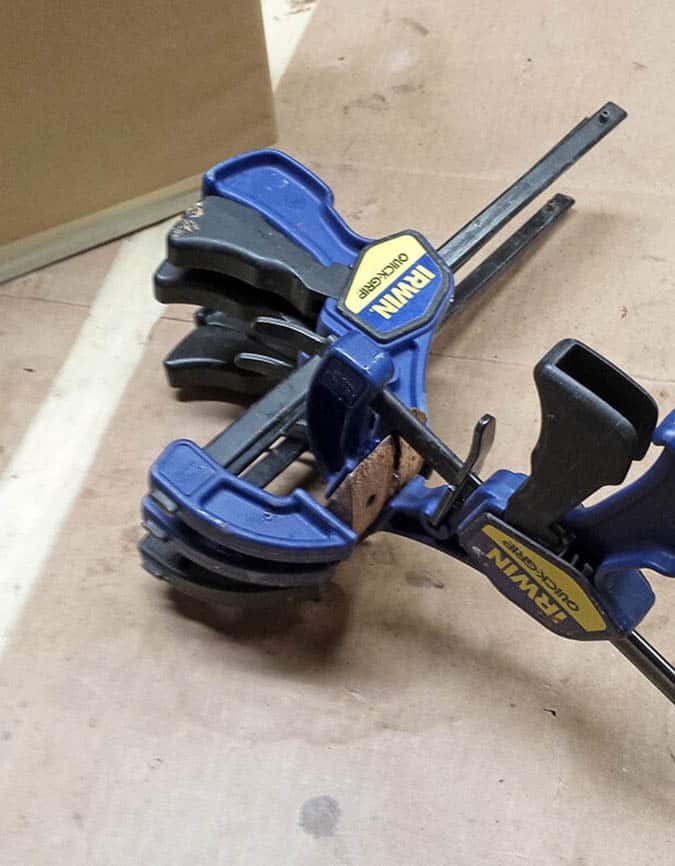
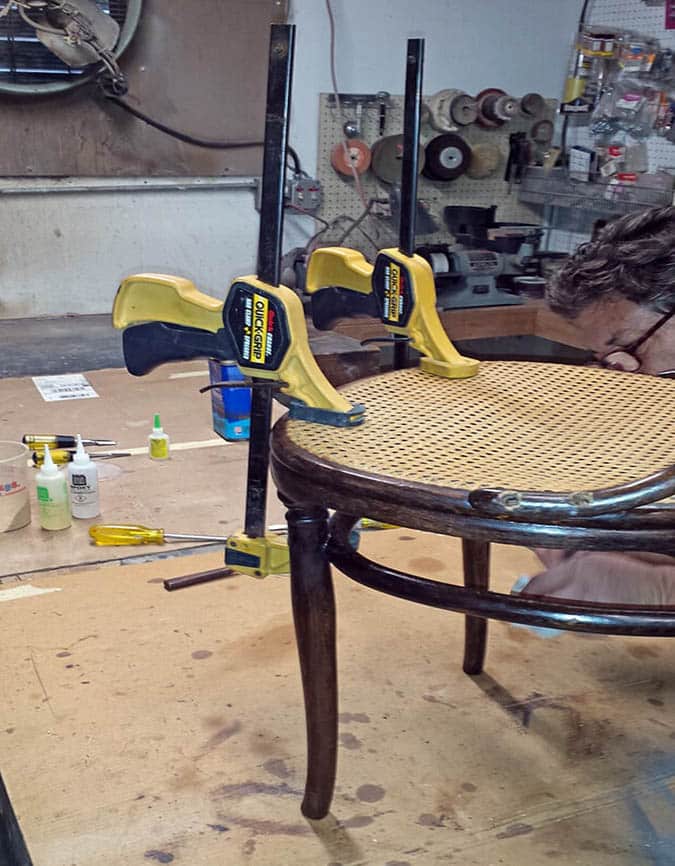
Some of the blocks had to be clamped in place as well as the screws.
Blocke glued in place and filling any cane holes in top with epoxy so when gluing front leg in place the glue wont run of the cane holes.
Block glued in place and filling any cane holes in top with epoxy so when gluing front leg in place the glue wont run out of the cane holes.
All the rusted screws removed from the back of one chair seat frame.
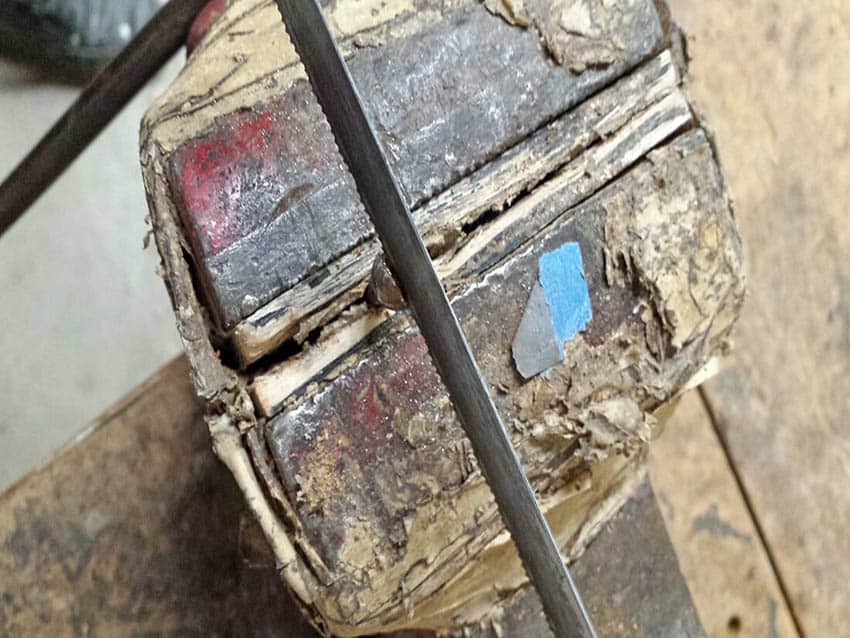
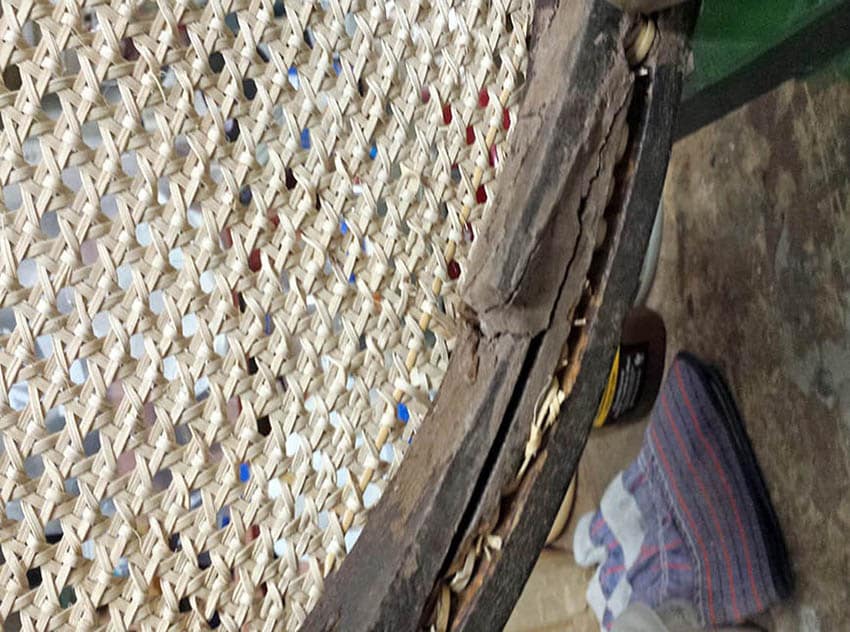
This is someone else’s old repair on back part of chair seat frame with lots of putty I had to remove to bare wood in order to re-glue it.
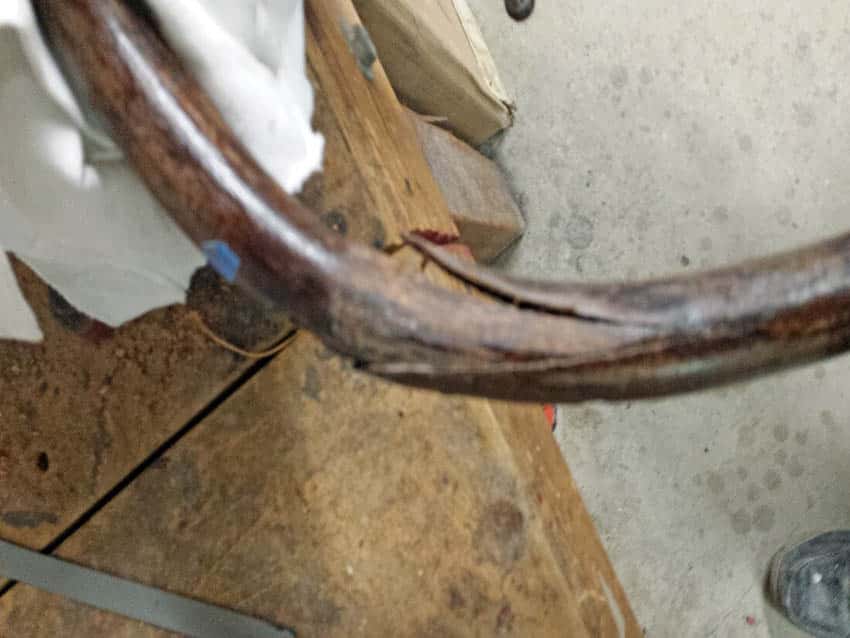
Seat frame delaminating, needing to be re-glued.
Seat frame delaminating, needing to be re-glued.
This is someone else’s old repair on back part of chair seat frame with lots of putty I had to remove to bare wood in order to re-glue it.
Spreading apart the delimitation and removing the old glue.
Spreading apart the delimitation and applying the old glue.
Spreading apart the delimitation and applying the old glue.
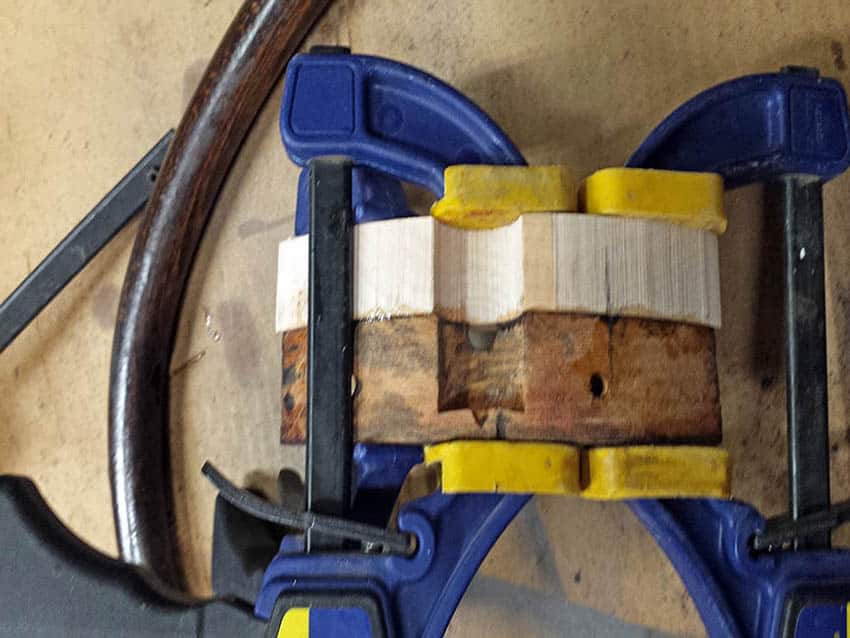
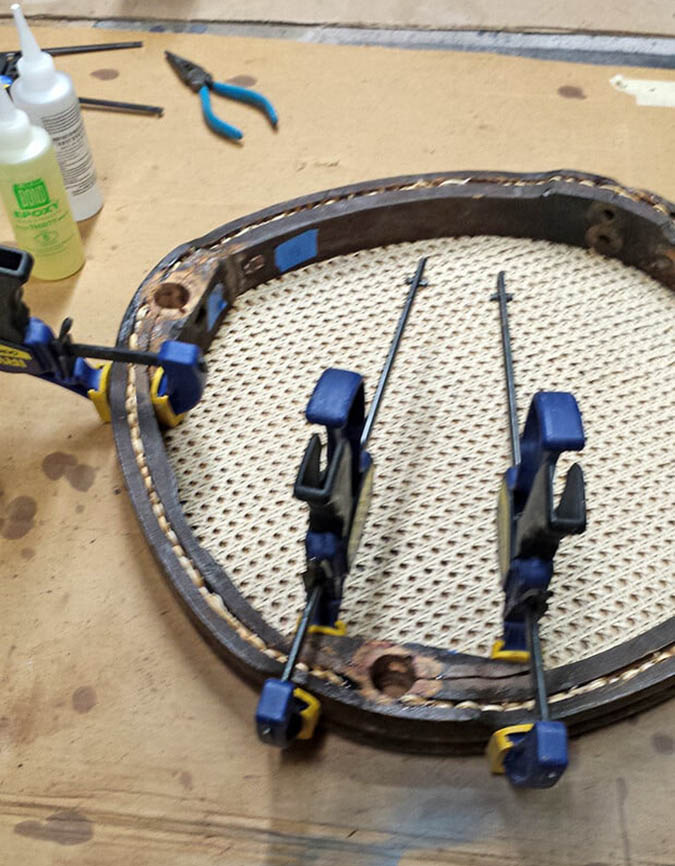
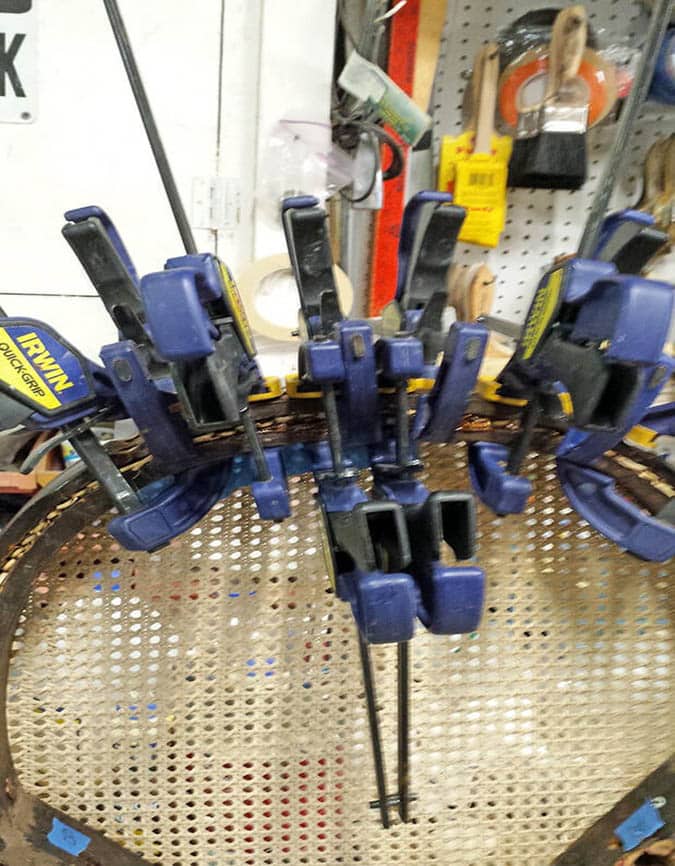
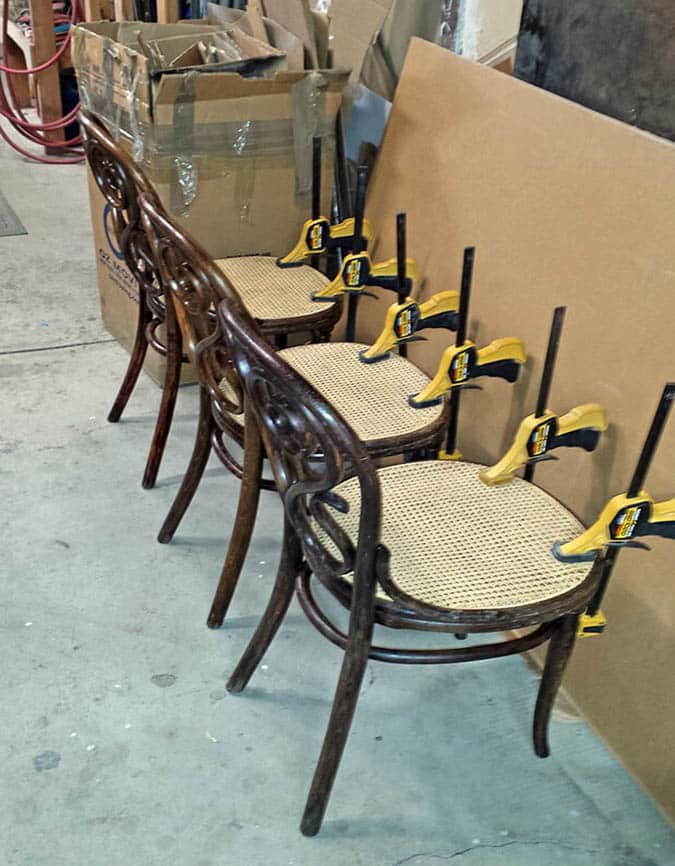
All epoxy is in place and clamps are set in place.
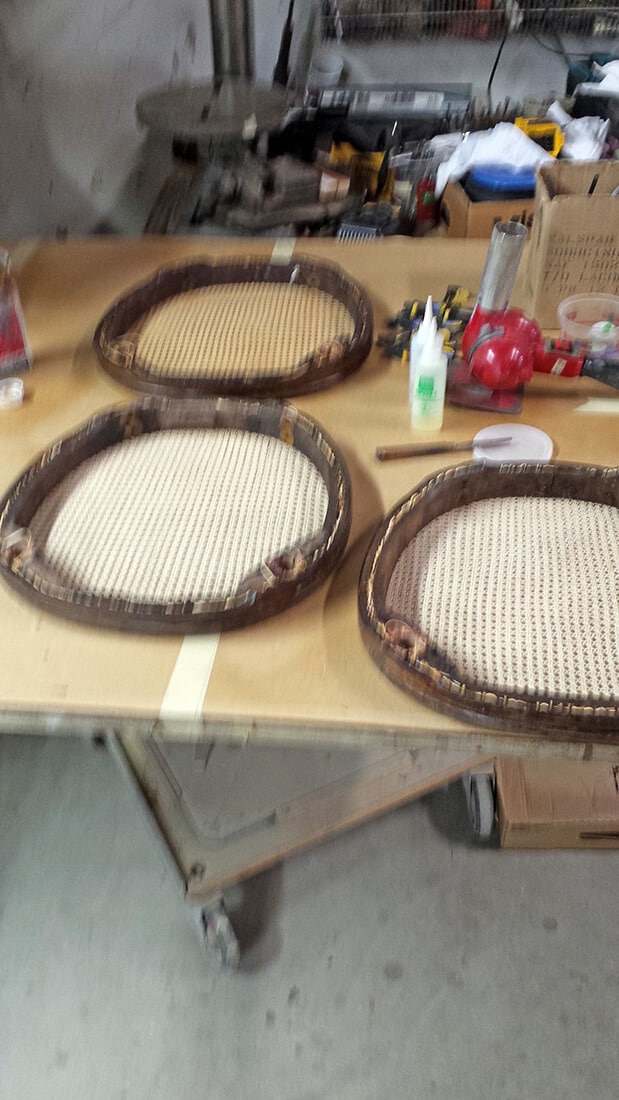
Finished seat frames ready to glue and assemble onto chair back.
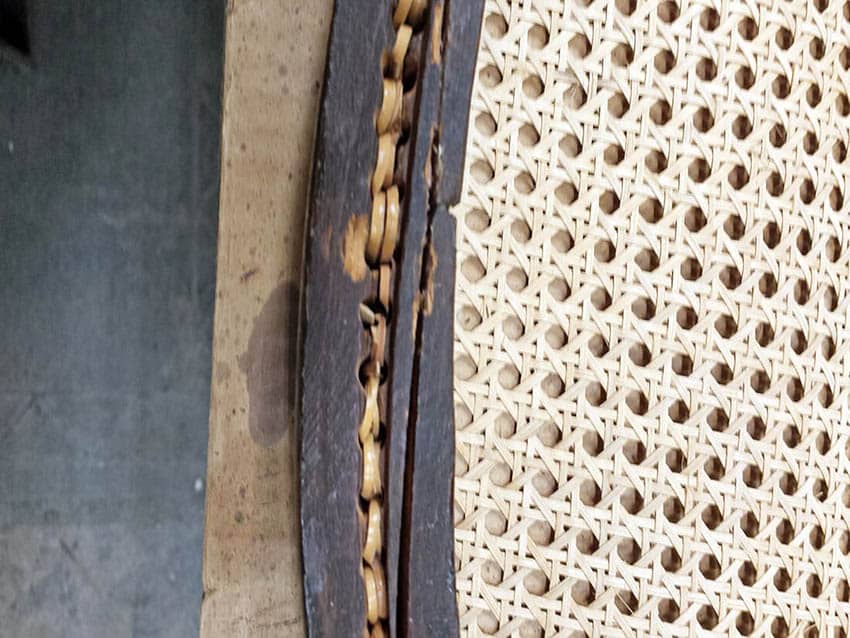
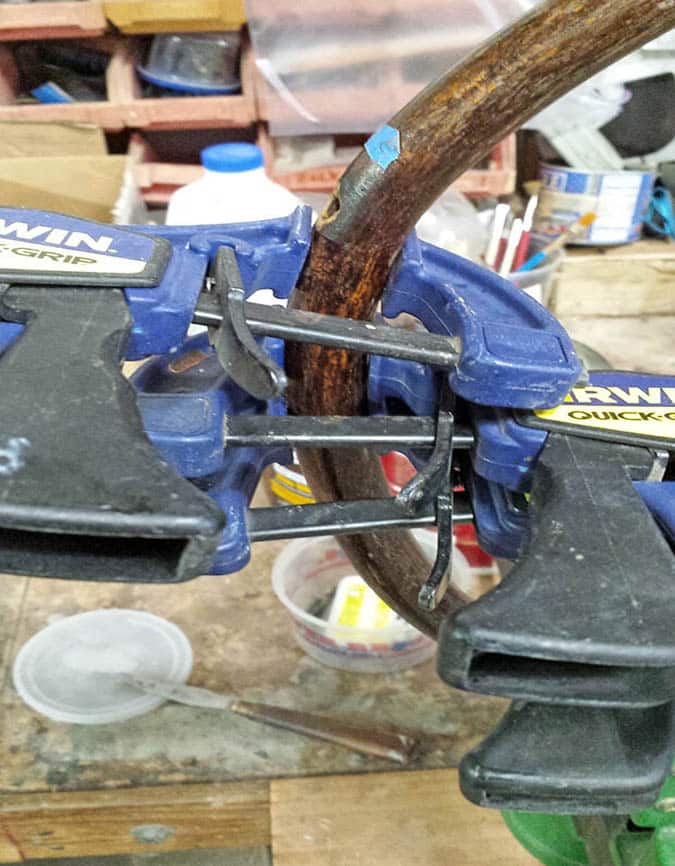
Bottom circular stretcher has delaminated and needs to be glued as well before complete assembly of chair frame.
Glued and clamped bottom circular stretcher
Chair back to seat hip hugger needed gluing as well before final assembly.
All chair frames are now ready for full assembly.
All chair frames are now ready for full assembly.
First step is screw together entire chair frame but only flue hip huggers in place to back frame.
Assemble entire chair to set everything in place in order to glue hip huggers to back frame then remove seat and apply glue and reassemble so seat frame is completely glues to back frame at the correct angles.
After back and seat are securely glued in place then disassemble the circular stretcher and front legs and apply glue and reassemble and clamp in place and chair frame will be completely glued.
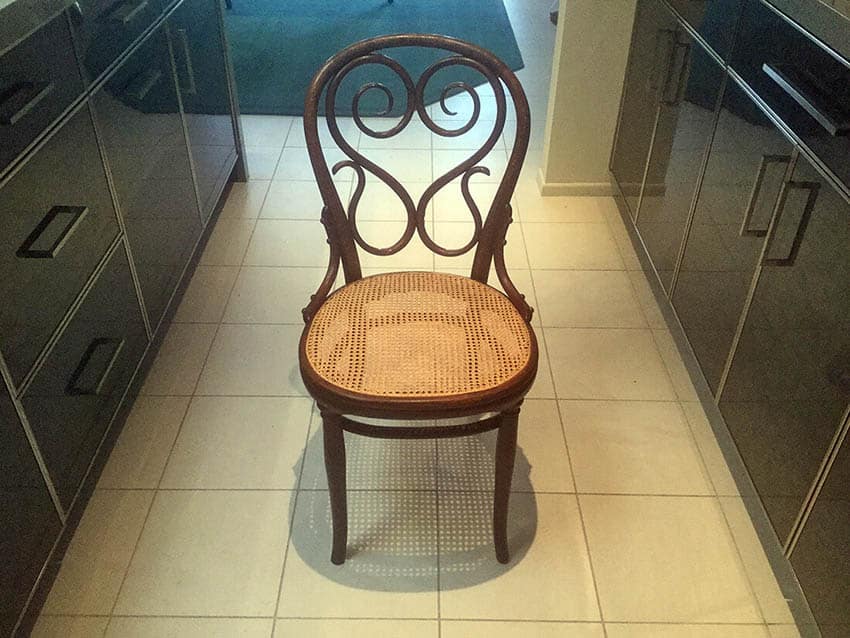
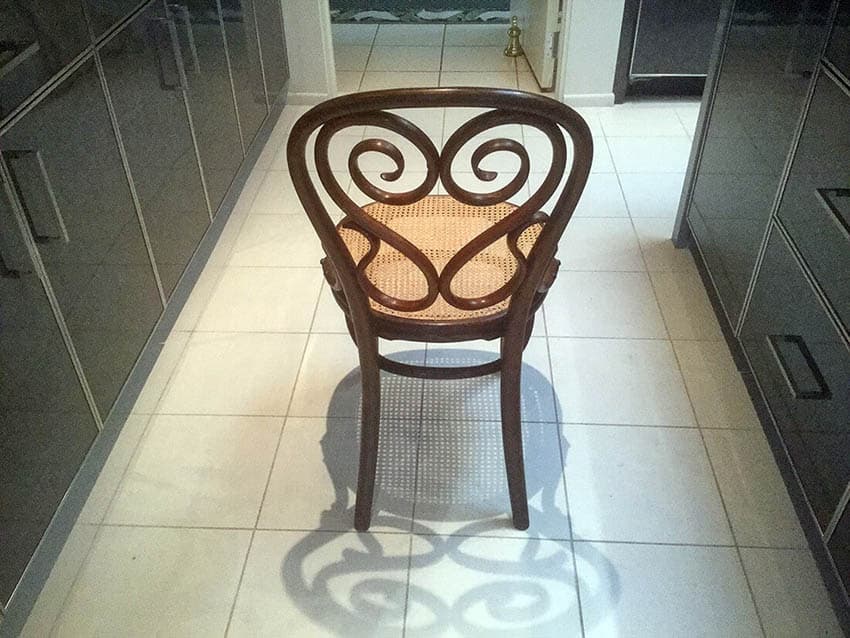
Completed chair in Client’s Home
Completed chair in Client’s Home
Completed chair in Client’s Home
Completed chair in Client’s Home
Whether you need us to restore a heirloom or refresh your favorite furniture – we are here to help! Contact us now to preserve and restore your treasured items.